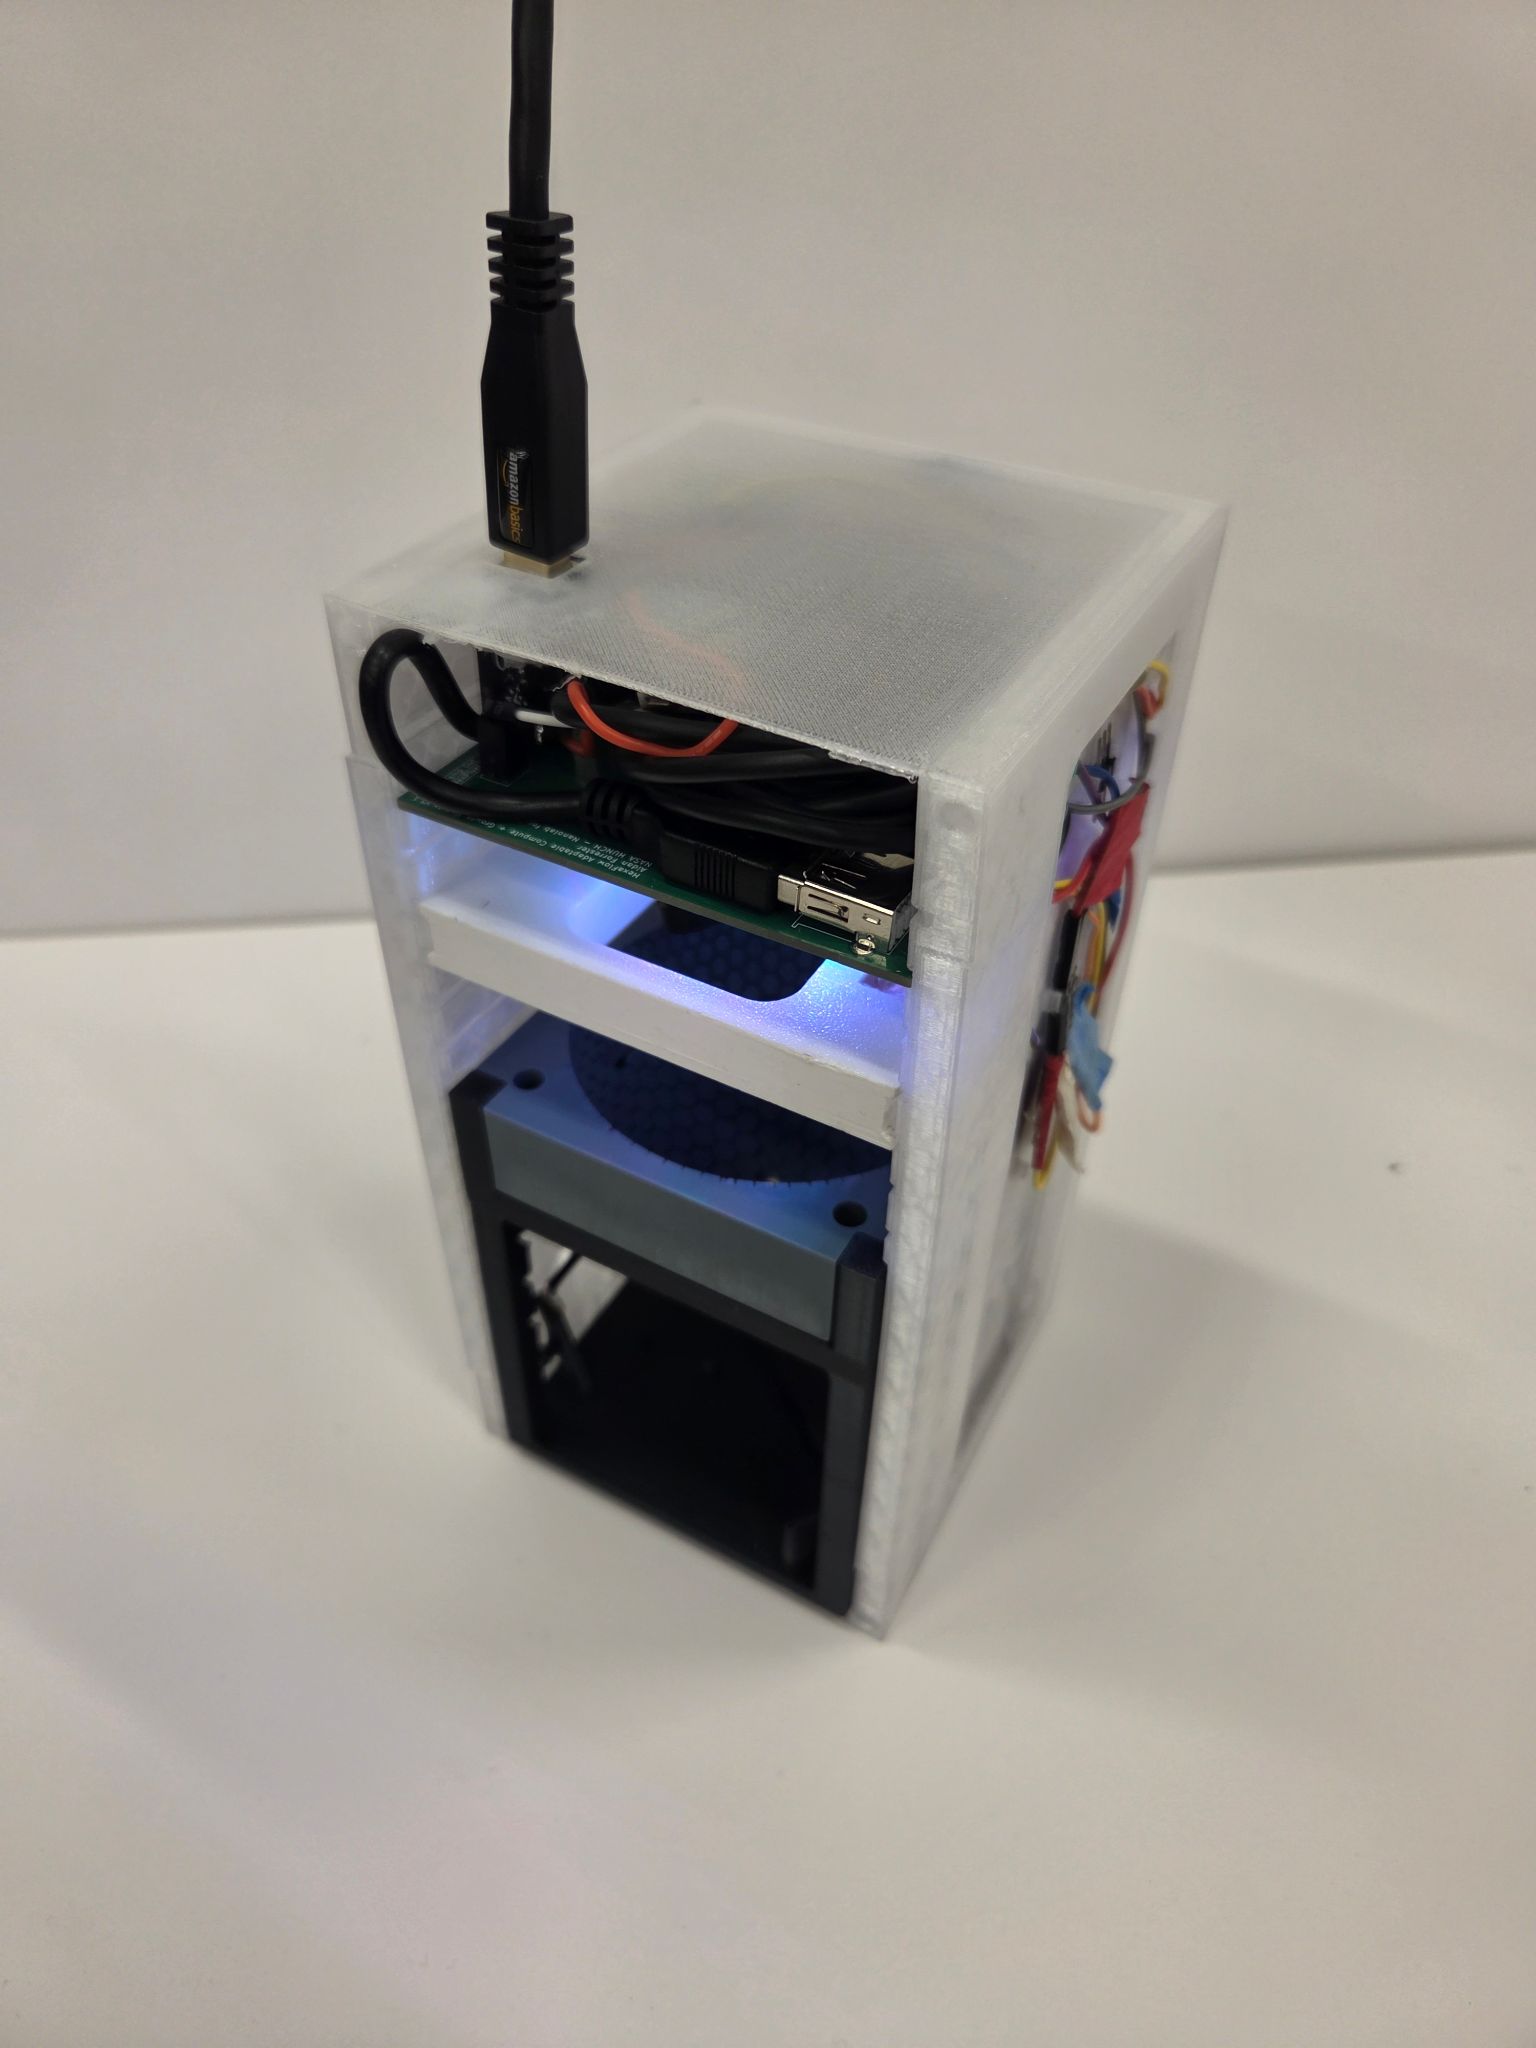
Enclosure
Master assembly — every other part mounts into this.
The full system assembled: shell, sliding shelves, electronics plates, lights, and the experiment module. This is the top-level assembly the viewer is built around.
Every part of the HexaFlow nanolab in one interactive 3D model. Click any part — on the model or in the list — to read what it does, see its drawing, and download the native SolidWorks or KiCad source.
The full HexaFlow nanolab, exported from SolidWorks. Scroll through the parts on the right and the 3D model highlights each one as it enters view. Click a part in the model to jump to its card, or click a card's title to find it in the model. Tick Isolate in the toolbar if you'd rather hide everything else.
Outer shell, doors, and the master assemblies that hold everything else.
Master assembly — every other part mounts into this.
The full system assembled: shell, sliding shelves, electronics plates, lights, and the experiment module. This is the top-level assembly the viewer is built around.
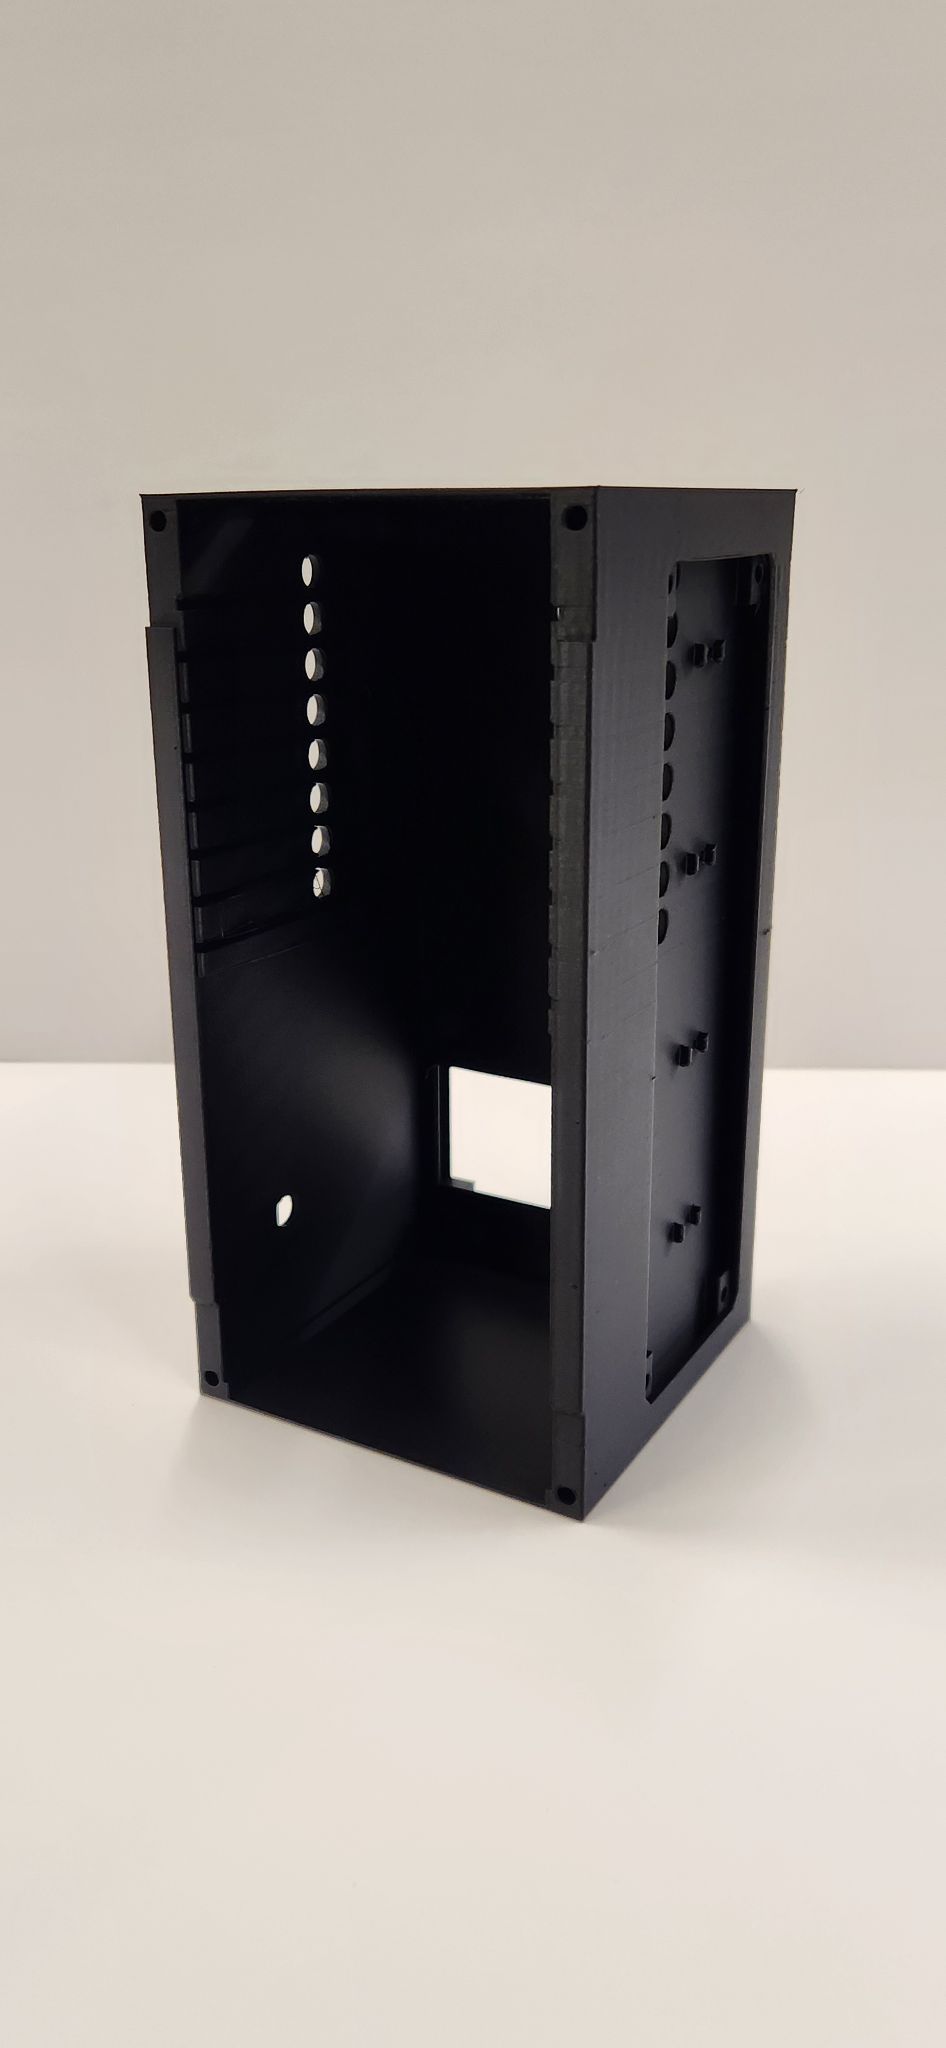
Outer structural shell with hollow side walls for cable management.
The enclosure body. Hollow side walls let cabling run protected from water while carrying the sliding shelf system for electronic plates, lights, and the experiment module.
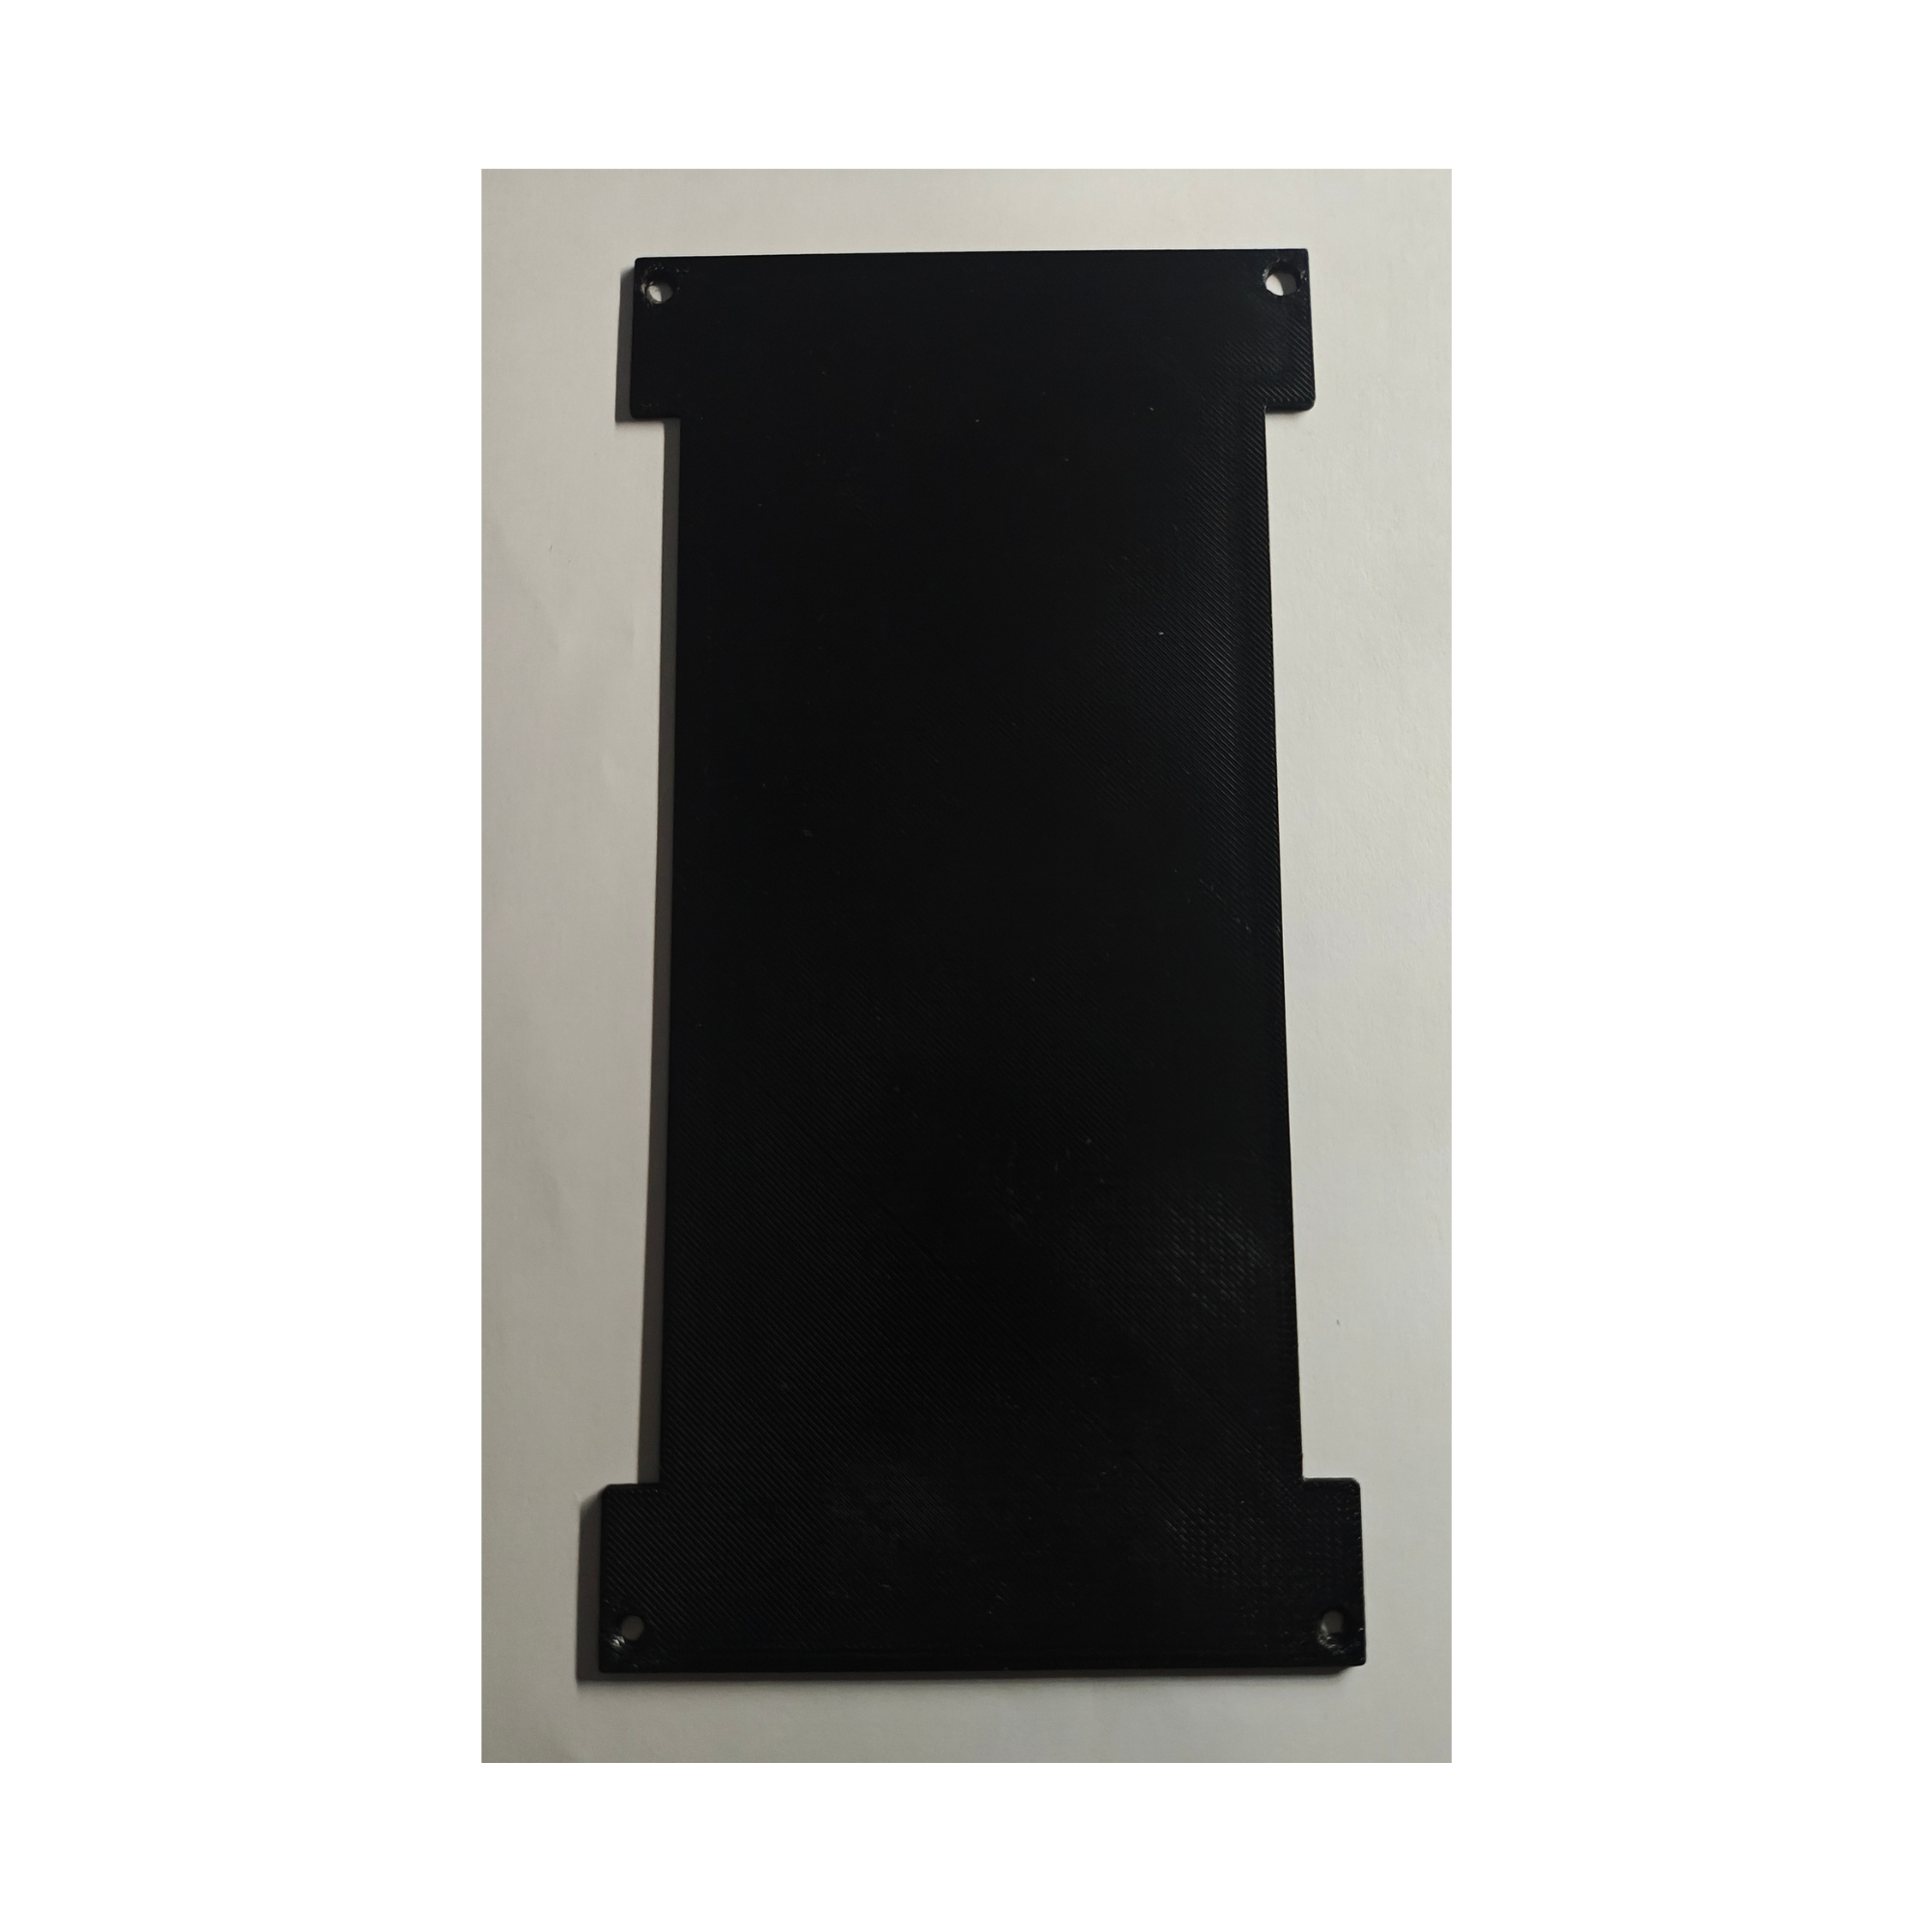
Access panel for internal components and the experiment module slot.
The tabbed front door, secured with M3 × 6 mm screws, for easy access to the internal components and the experiment module.
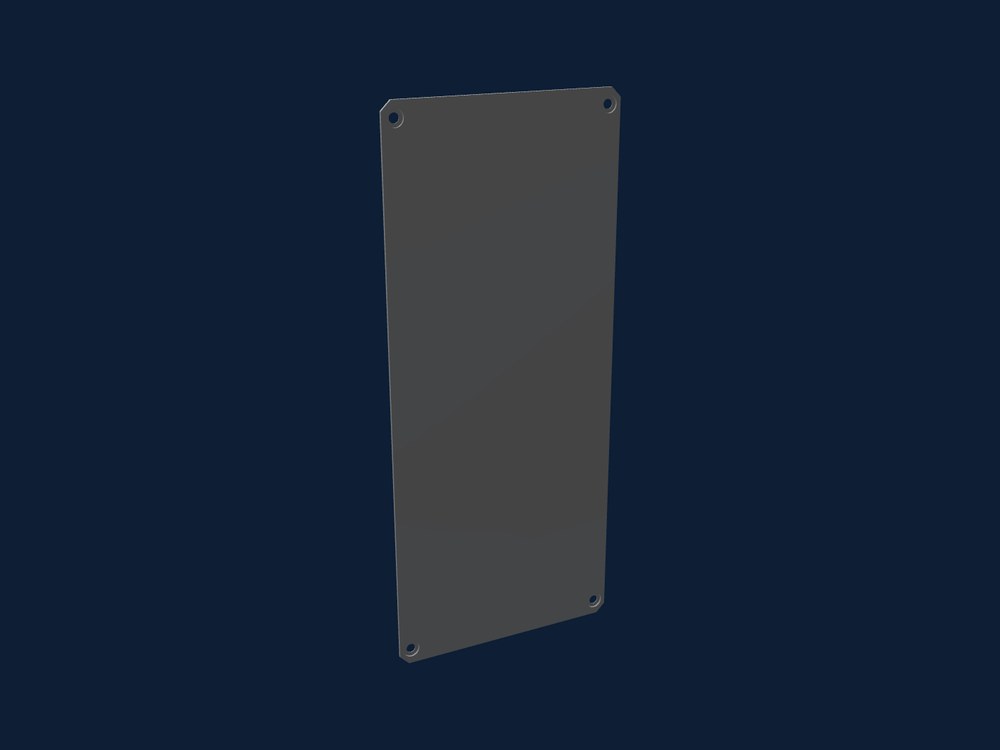
Rear access panel.
Back access door, secured with M2.5 screws.
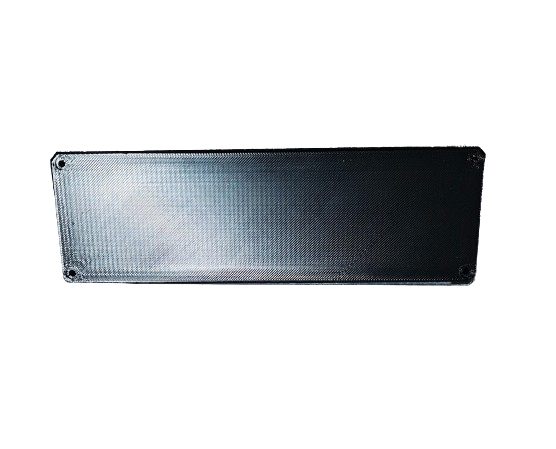
Side access panels.
Side doors, secured with M2.5 screws, that cover the wire access in the hollow shell walls.
Thorny Devil Capillary system — the hex channels that move water by capillary action.
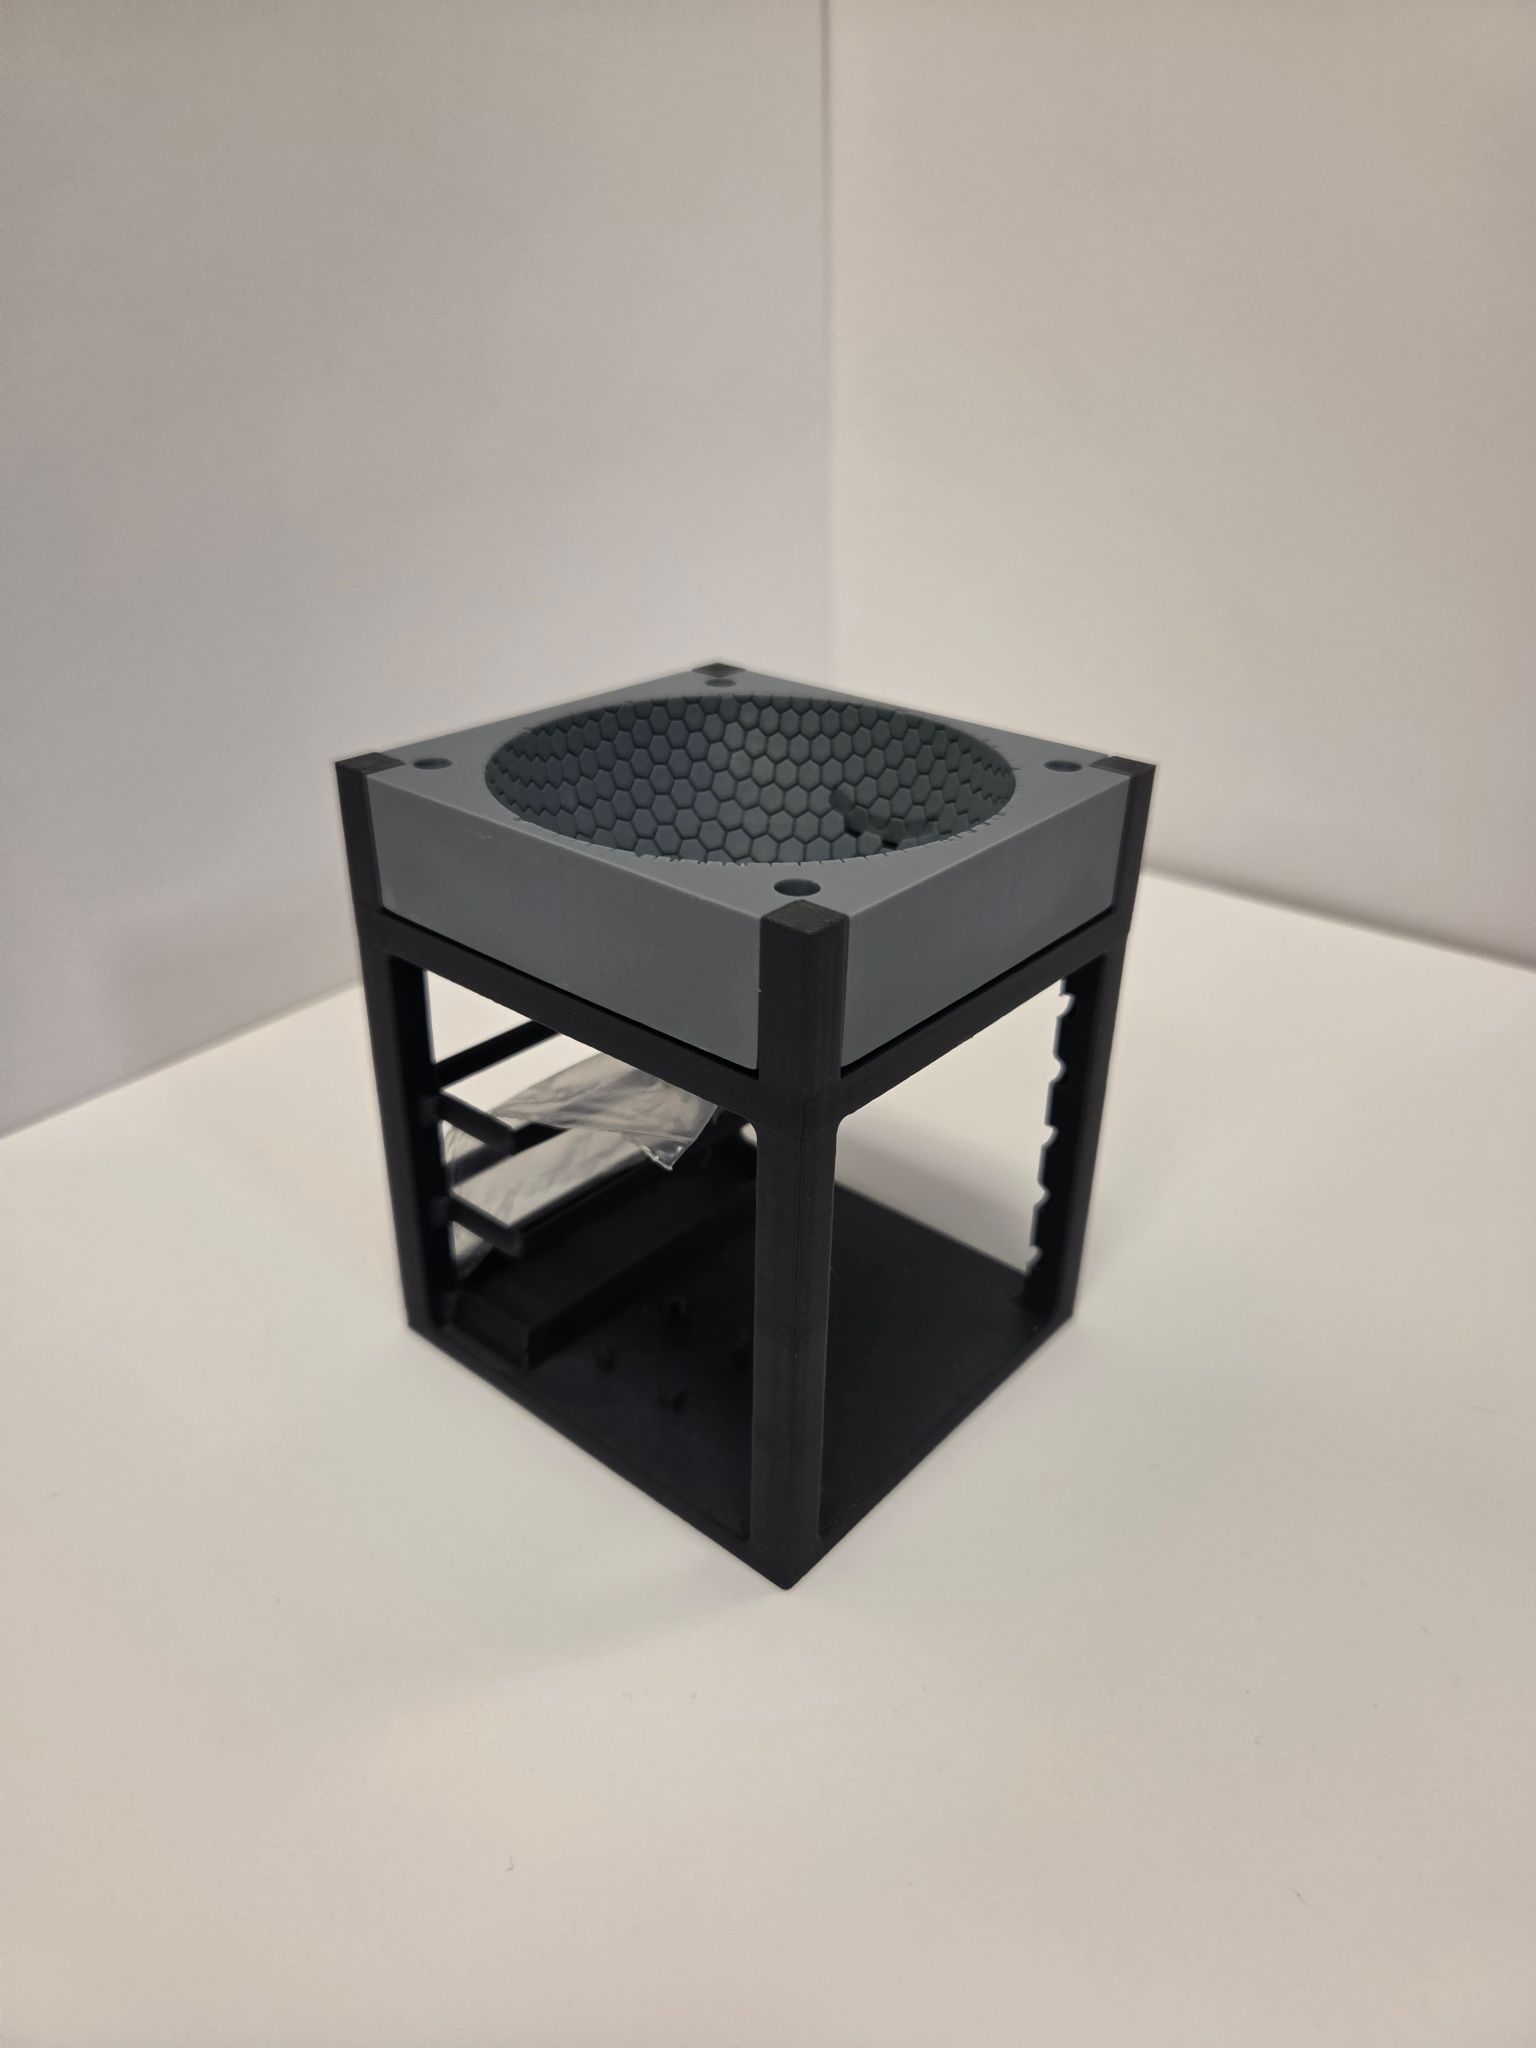
The core capillary experiment module — second generation.
The second-generation Thorny Devil Capillary module: the resin hex-dome top on a 3D-printed bottom half. Much lighter and cheaper to make than the original "brick," with room for cameras on the inside. Hexagons are spaced 0.020 in (0.51 mm) apart to form the capillary channels.
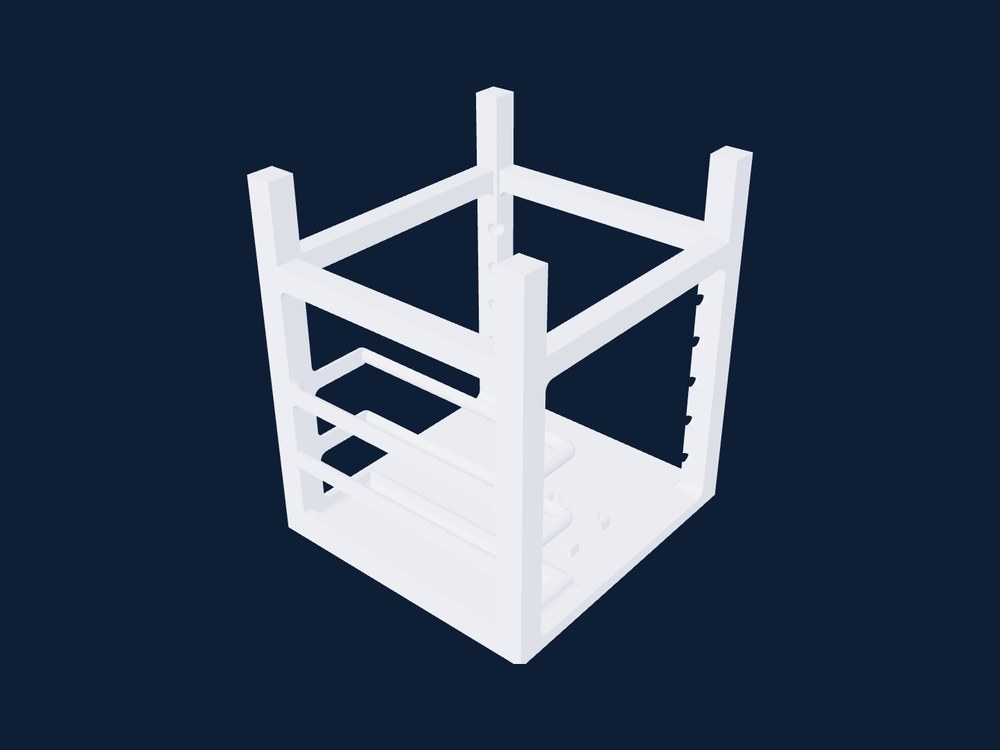
Lower half of the TDC V2 — holds the water supply and pump.
The FDM-printed bottom half of the TDC V2. It houses the heat-sealed water reservoir pouch and the pump, which feeds the nozzle into the channels above — and leaves room for a camera to watch the pump and reservoir.
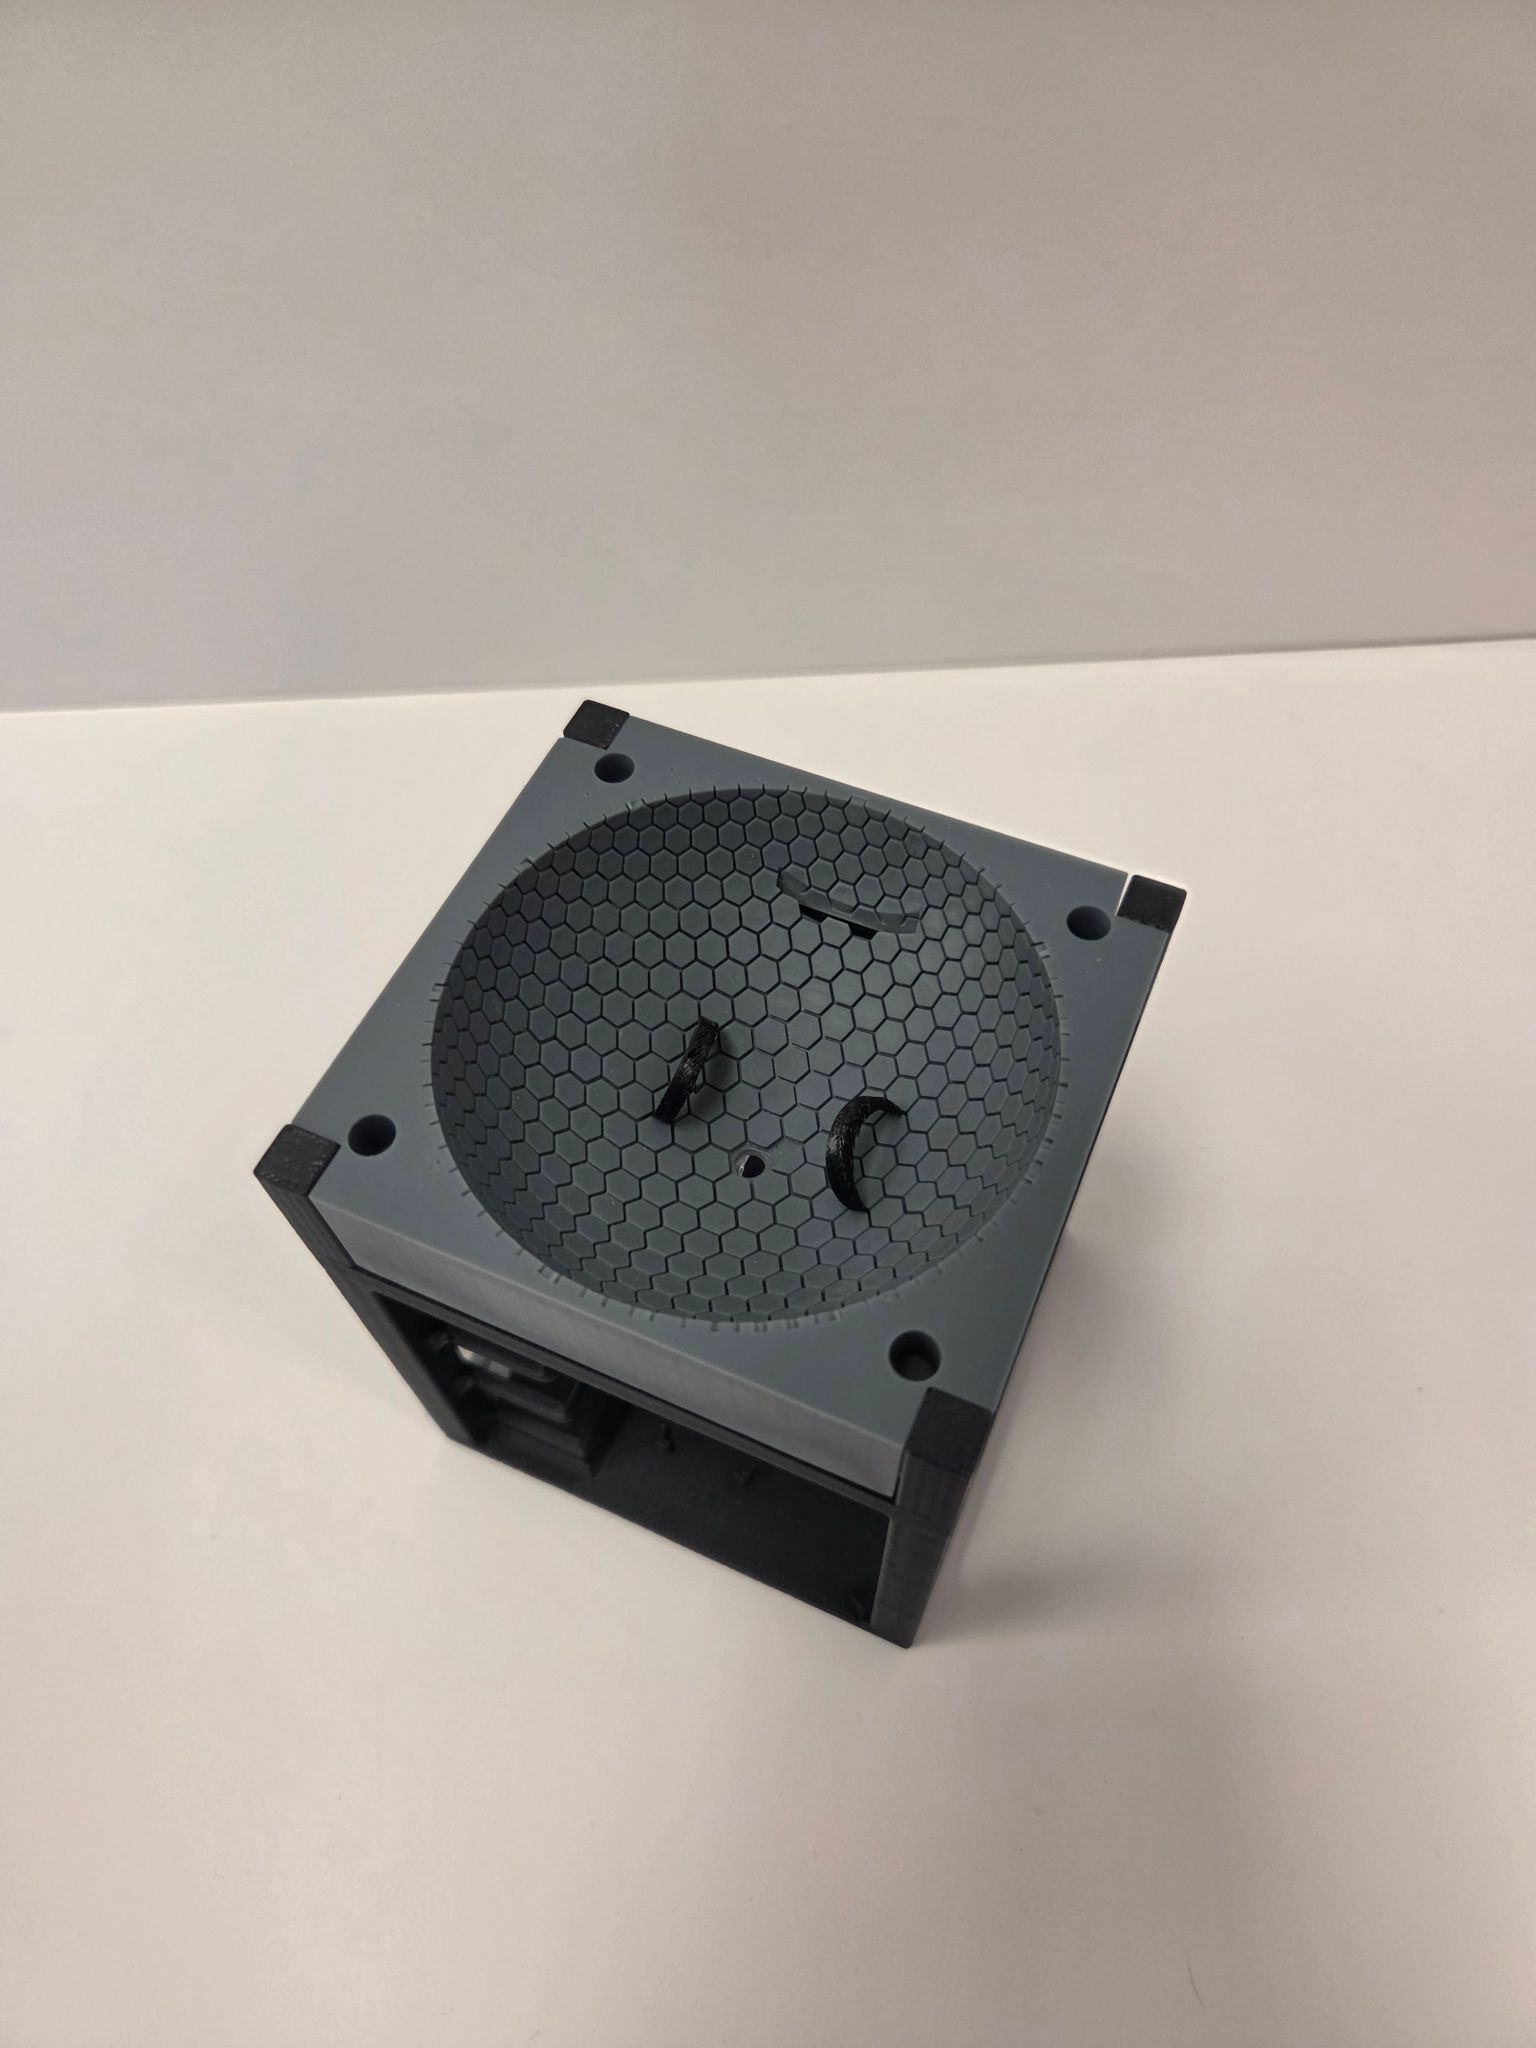
The hex-channel dome — where capillary action moves the water.
The top half of the TDC V2: the hemispherical dome lined with the thorny-devil hex channels, SLA-printed in clear water-washable resin. The resin is polar, so it bonds to water more strongly than water bonds to itself — driving capillary flow — and its clarity lets light pass through the dome toward the cameras inside.
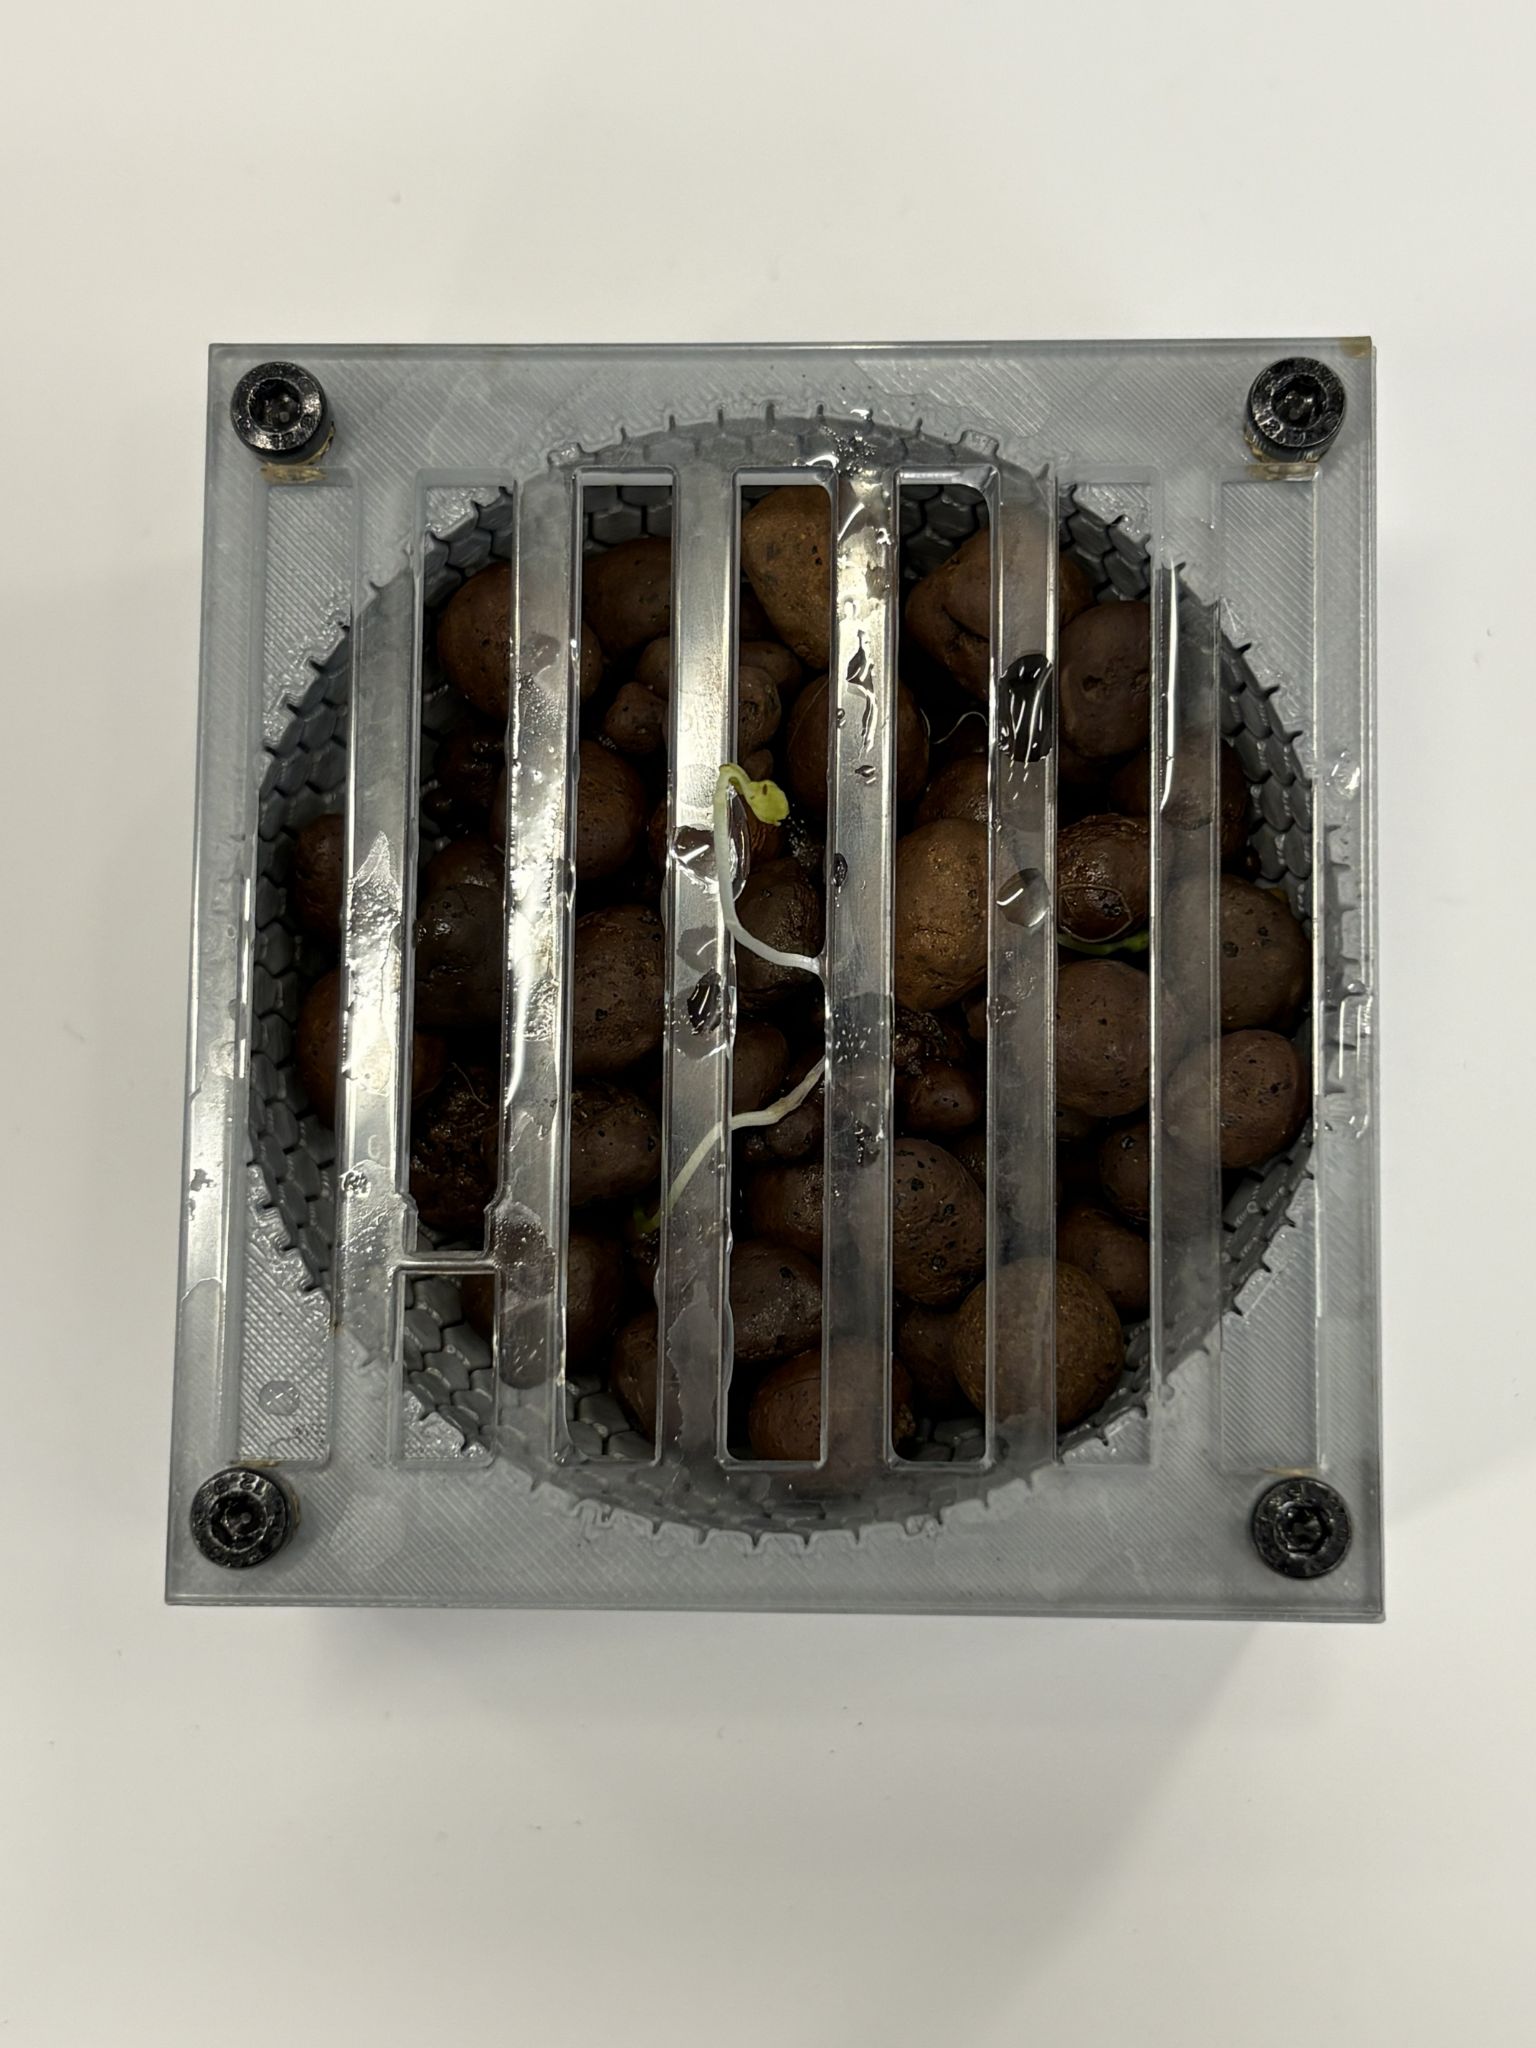
Grate that holds clay pebbles in place during microgravity.
A grate that retains clay pebble substrate during inversion/drop tests, preventing substrate migration while still allowing water and root penetration.
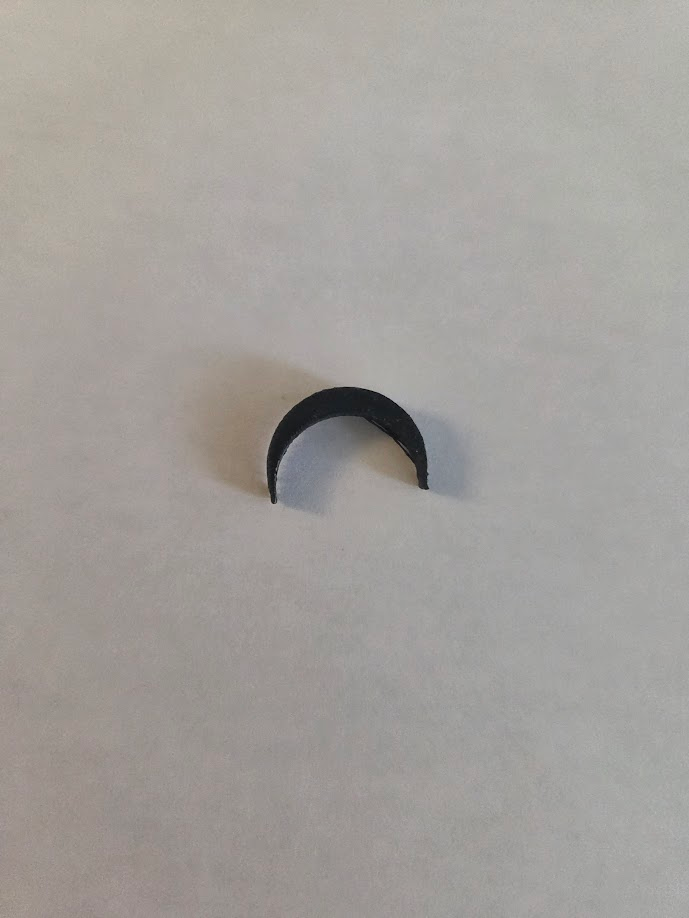
Friction-fit holder that clamps the plant stem within the channels.
V2 plant clip. Inserts between hexagon gaps and friction-clamps around the stem. Tested successfully under a 1-minute inversion with kale.
Vision and lighting mounts that let the AI sense root moisture.
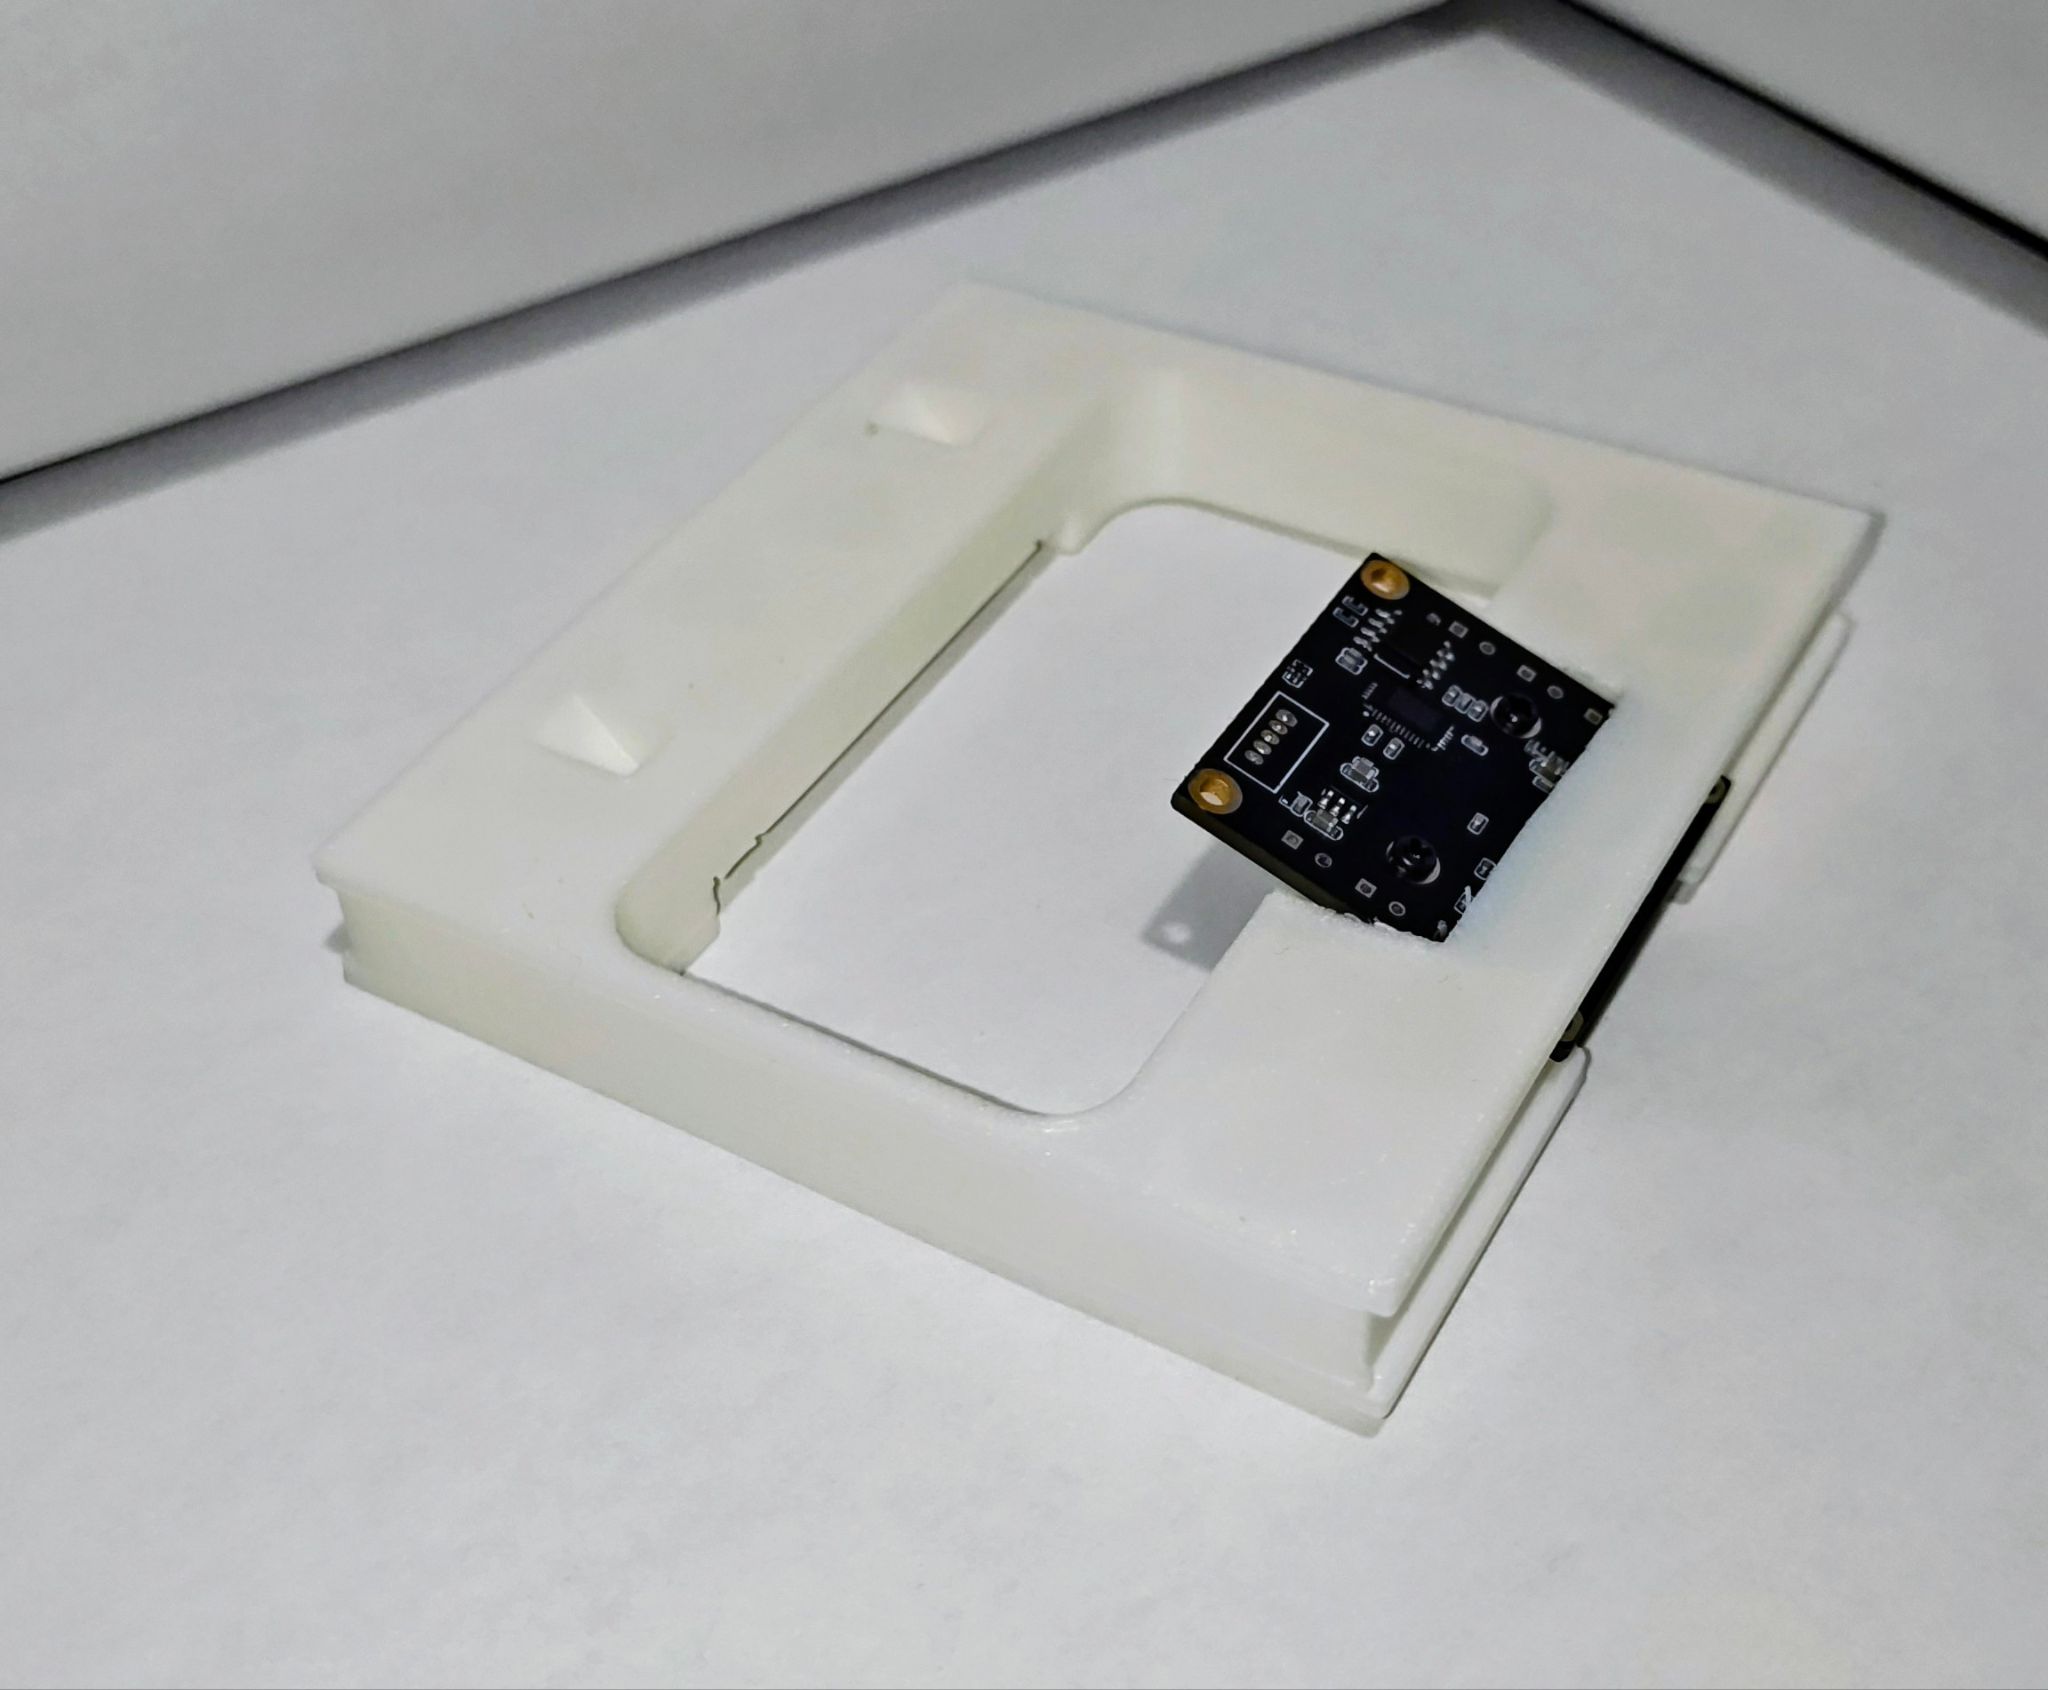
Holds the camera and anti-glare lighting.
Holds the imaging camera and anti-glare lighting, and slides into the shell with an opening for viewing the plant — so the vision model gets a clean view of the roots.
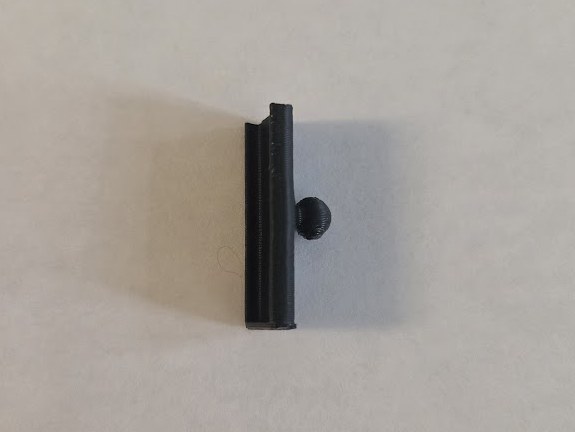
Ball-and-socket clip for the USB camera that watches the pump and reservoir.
A ball-and-socket attachment that holds a USB camera aimed at the pump and reservoir, with a range of adjustable angles for framing the shot.
Injection and pump interface — how water enters and moves through the system.
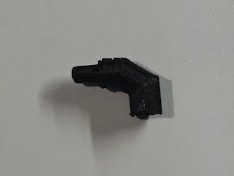
Where water enters the capillary channel network.
The entry point for water into the system, at the base of the TDC. The injector hole was plugged for the balcony drop tests.
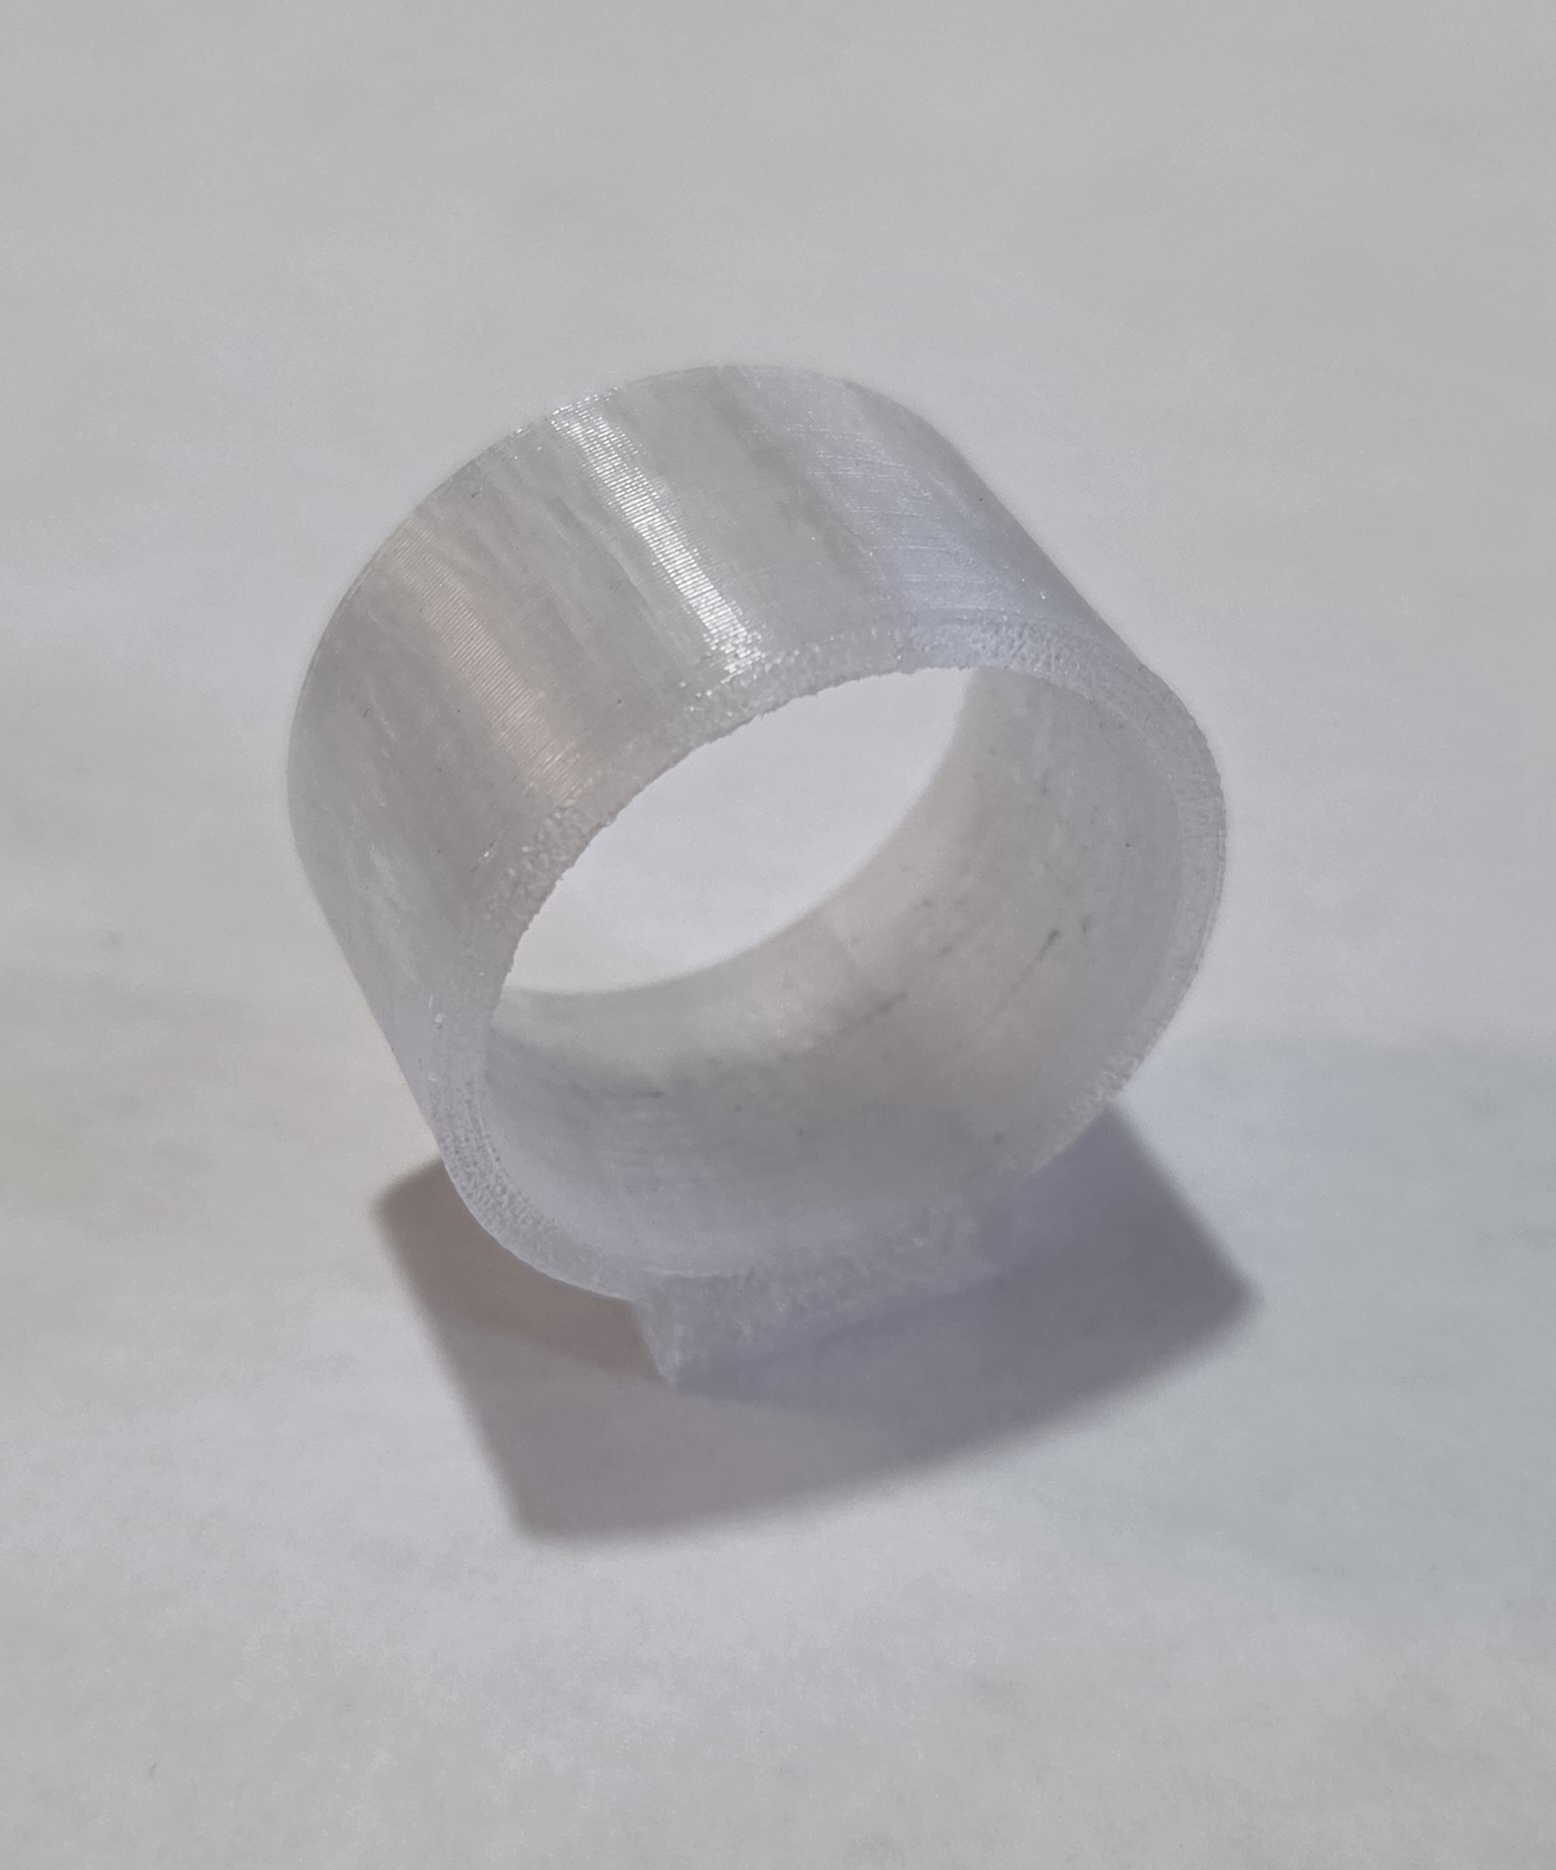
Fits the drop-test pump into the long-term pump slot.
The enclosure was designed around the smaller long-term pump; this adapter lets the larger, faster drop-test pump clip into the same slot. Not in the exported 3D assembly.
Covers that hold the growing medium in place.
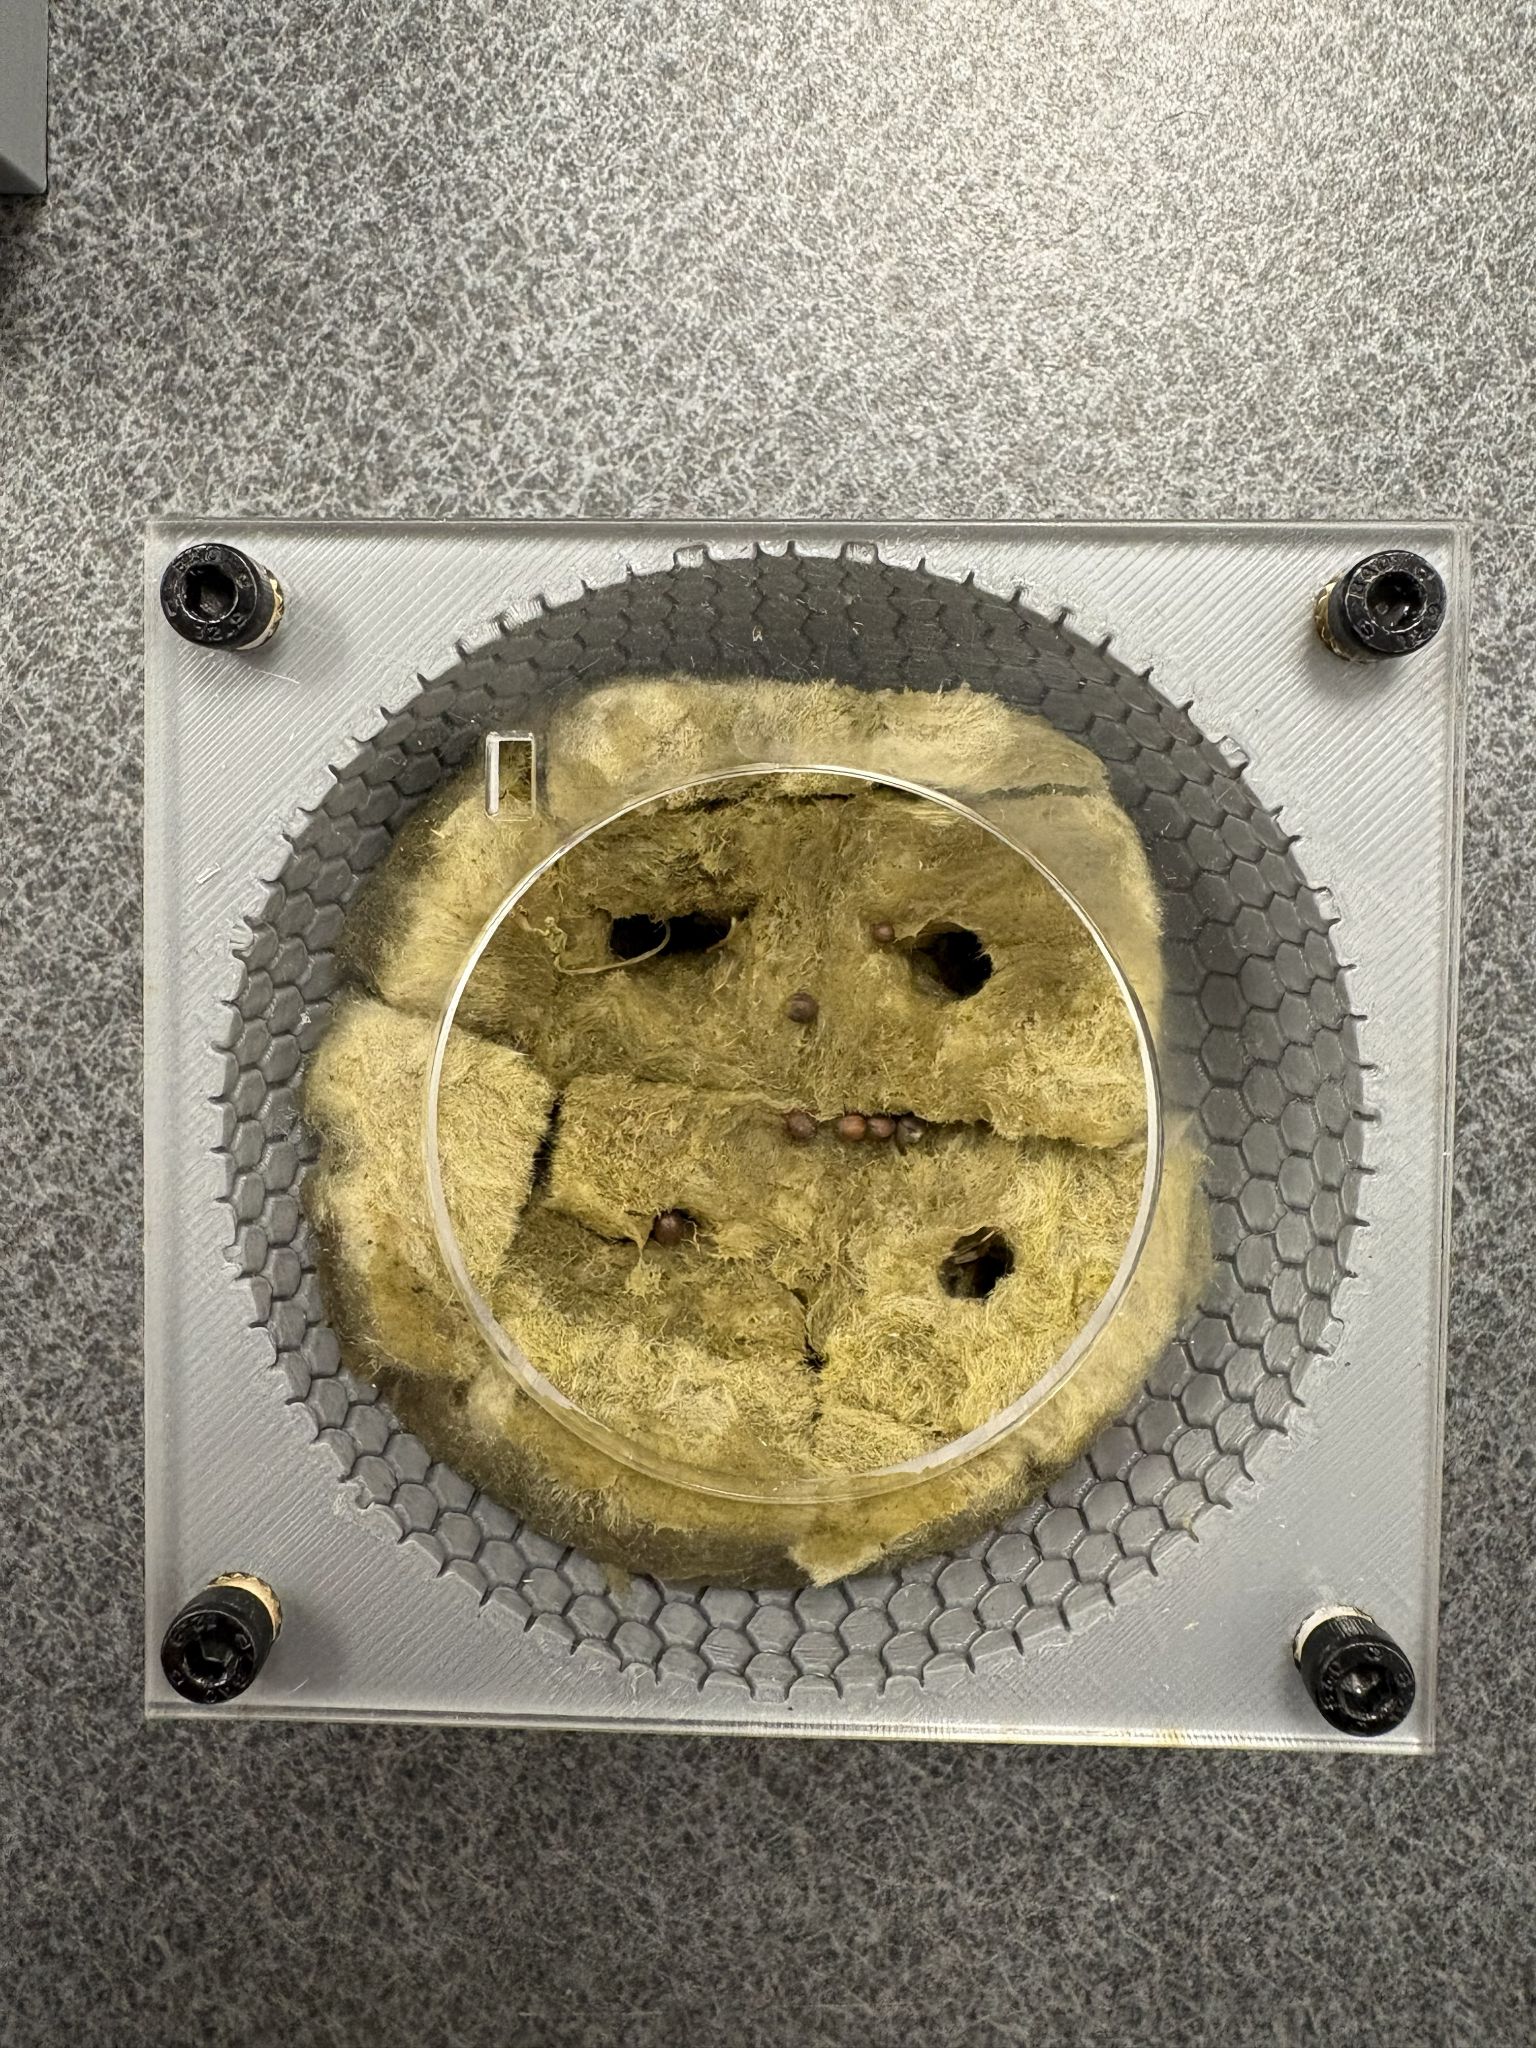
Covers the rockwool tray with openings for moisture probes.
Custom cover for the rockwool substrate tray, with openings sized for moisture-sensor probes. Keeps substrate contained during inversion tests. Not in the exported 3D assembly.
The HexaFlow PCB, the USB Type-B power port, and the soil moisture sensor.
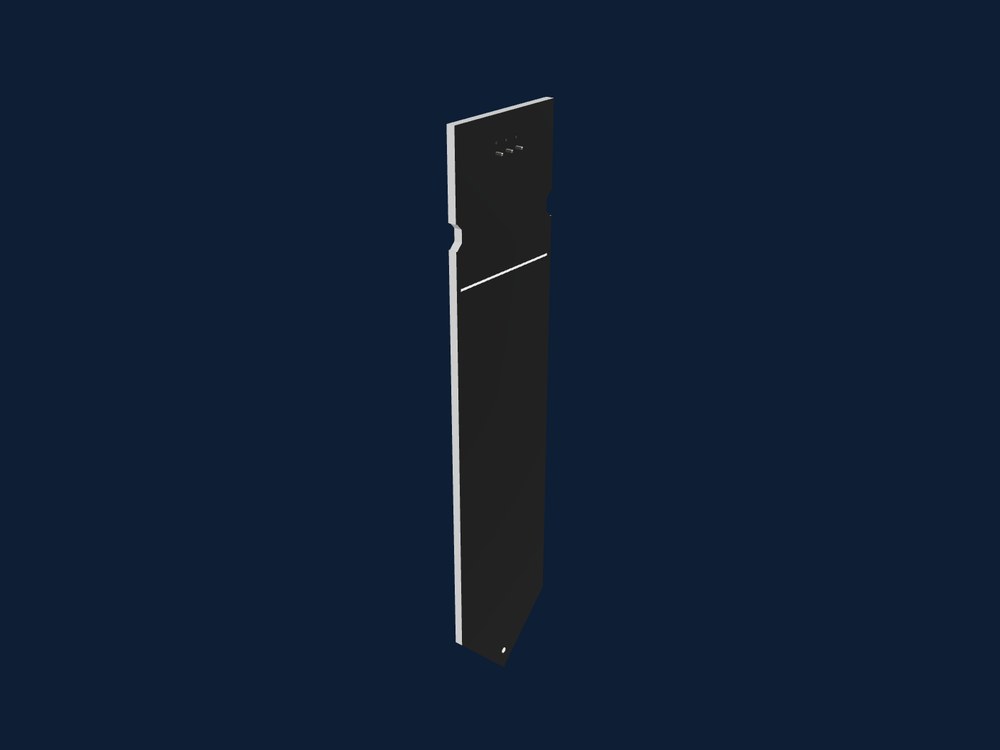
Tracks moisture where the camera can't see.
A capacitive moisture sensor that sits in the substrate through the cover opening. Unlike resistive two-probe sensors, it doesn't rust, which keeps readings reliable.
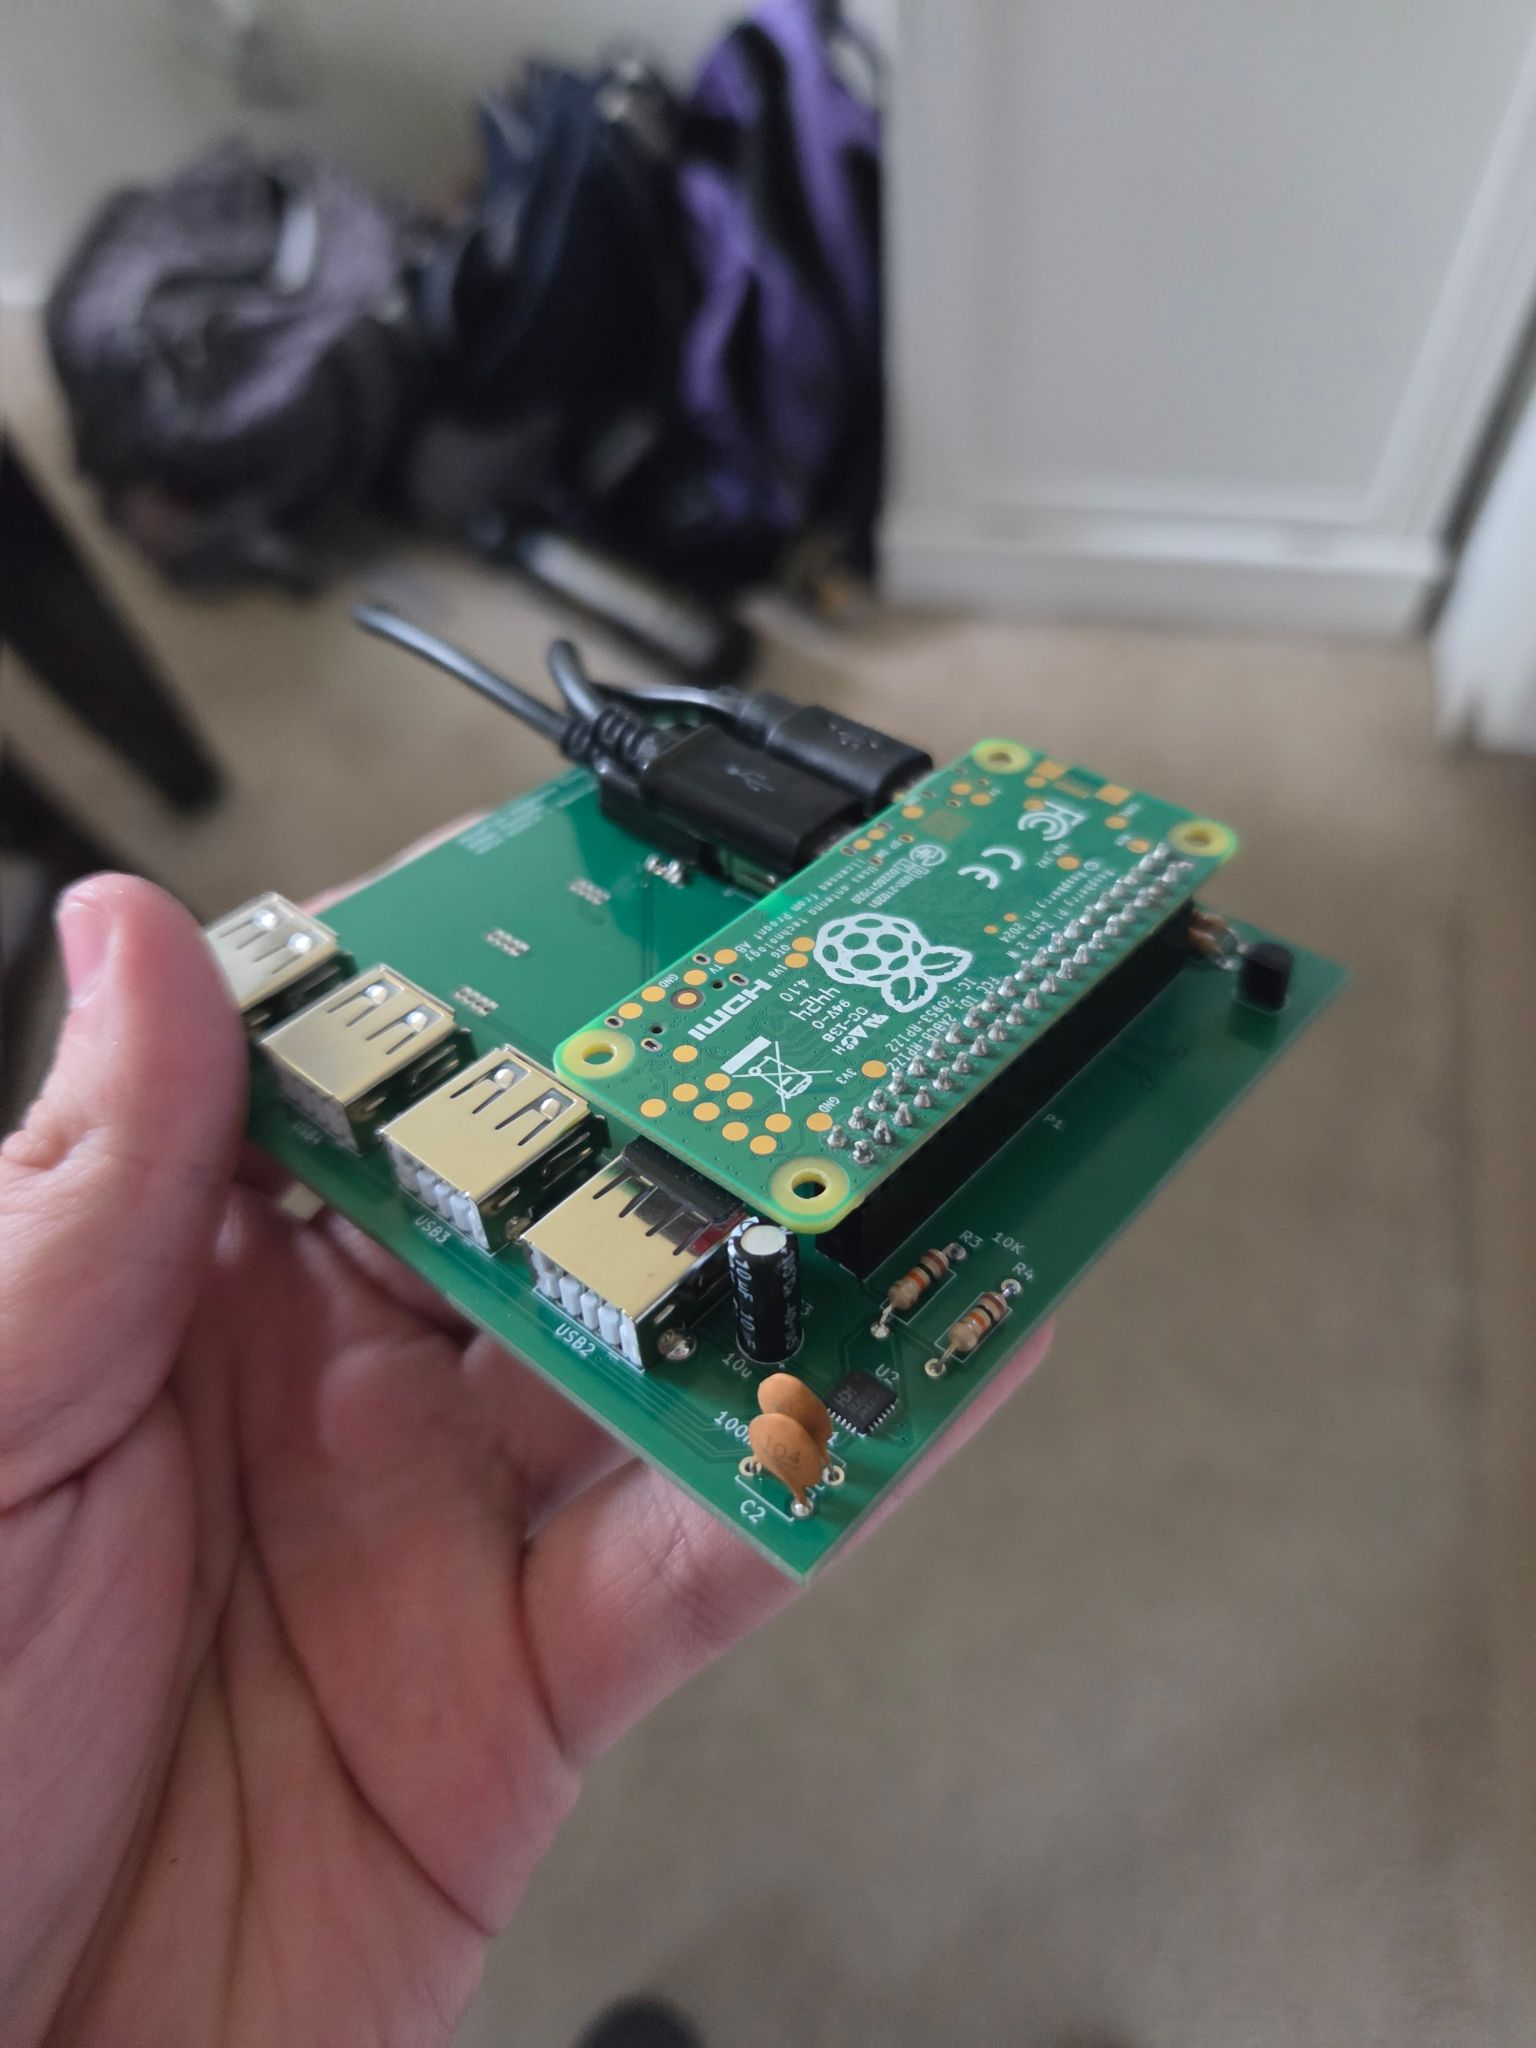
Custom control board — mounts the pump, camera, and sensor interfaces.
The custom HexaFlow PCB that the Raspberry Pi Zero 2W plugs into. It carries a USB hub for up to four cameras and the experiment lighting, and brings the sensors and pump onto one board. The downloads include the KiCad project, the SolidWorks model, and the schematic PDF.
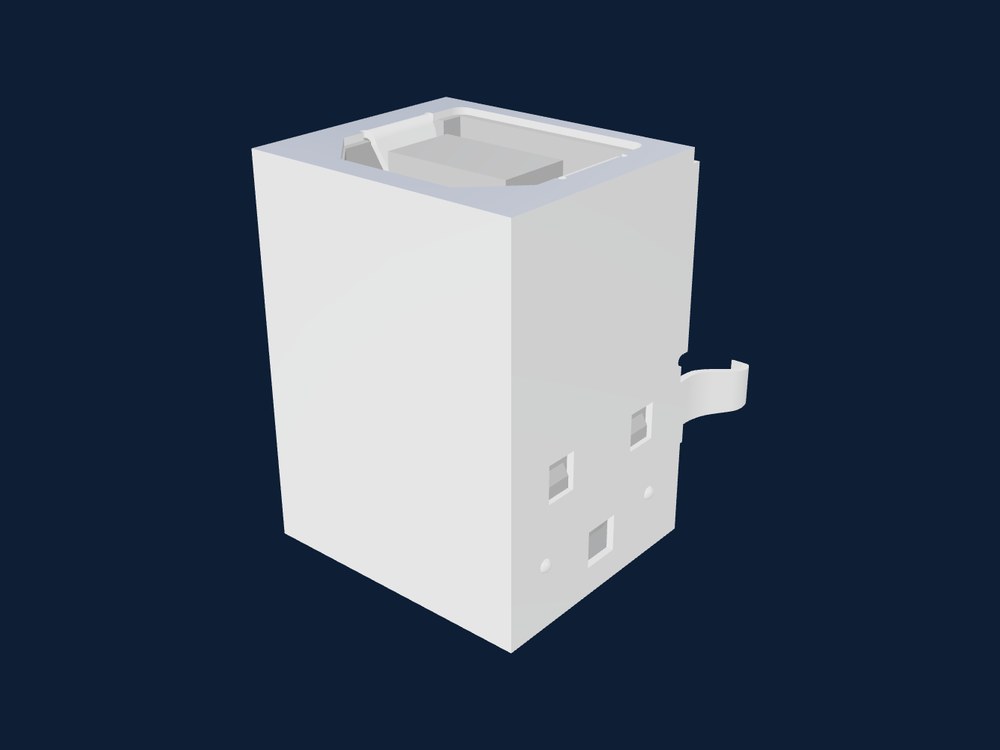
Power input to the nanolab, per the NanoRacks standard.
The nanolab's USB Type-B port, chosen to comply with the NanoRacks nanolab standard. It supplies power for standard operation — including during the drop test — and wires into the HexaFlow PCB.